Easy Homemade Instant Pot Cinnamon Applesauce with no refined sugar, and ready in 30 minutes from start to finish! This applesauce recipe is so delicious you’ll never want store-bought applesauce again.

Jump to:
Instant Pot Applesauce
I wanted to create a fall recipe in the Instant Pot and I knew it had to include apples or pumpkin. Cause it’s fall – right? Dah.
I decided to go with apples, but thought I would keep it easy and make some cooked cinnamon apples in a nice thick sweet sauce. Then top it with a scoop of vanilla ice cream… mmm. Doesn’t that sound good?
So I starting researching the IP cook times for sliced apples and went to work.
Removing the skin from the apples, coring, slicing, tossing them in some cinnamon and nutmeg, and pressure cooking.
It was so exciting! I had been thinking about these apples all week and couldn’t wait to try them.
I pressure-cooked them for 2 minutes, followed by a 5-minute natural release and then finally a manual release.
The house was filled with the aromas of cinnamon and spice and mom’s apple pie baking in the oven. Swoon.
I opened the Instant Pot lid with so much anticipation and there it was… apple sauce! Not kidding. Apple sauce, not sliced cinnamon apples in a thick yummy sauce. As you can guess I was bummed. No apples and ice cream for me.
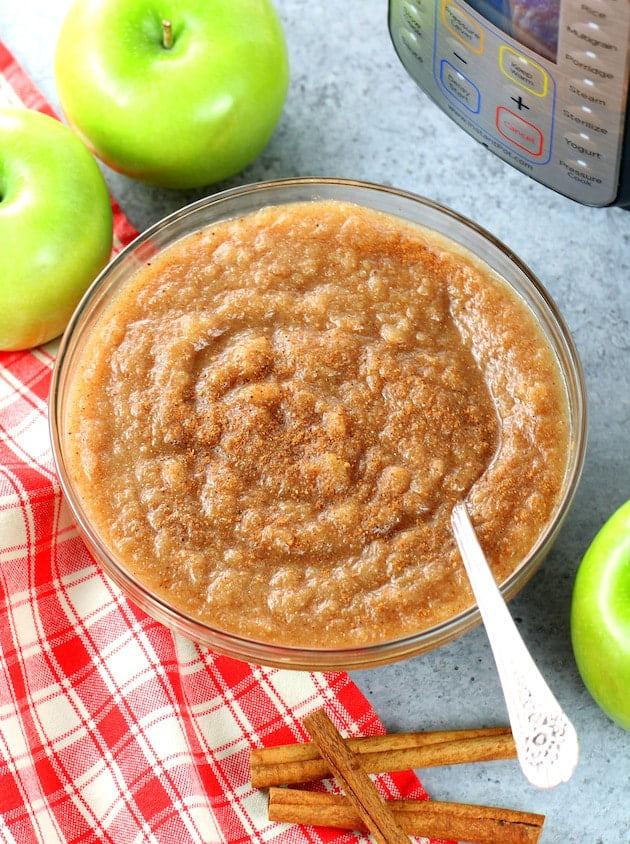
But then I tried it… it was delicious! Literally the best applesauce I’d ever tasted.
So here we are today, talking about the most tasty Easy Homemade Instant Pot Cinnamon Applesauce on the planet.
I guess the life lesson here is when life gives you apples and you try to make cinnamon sliced apples but get applesauce – just go with it!
Yep – be flexible, adapt, and adjust your expectations, then enjoy the moment or the applesauce.😁
I’m not sure if it’s a good idea to share my “recipe fails” with you or not. I mean, I don’t want to discredit my reputation as your favorite recipe creator and chef, but I do want you to know that we all have flops and it’s totally ok.
Plus, sometimes those flops can be resurrected or repurposed and it’s just as good, just different, than we had expected.
I went a little deep on you there didn’t I? Well, I guess that just goes to show there’s more to me than delicious recipes and nonsensical silly banter.😆
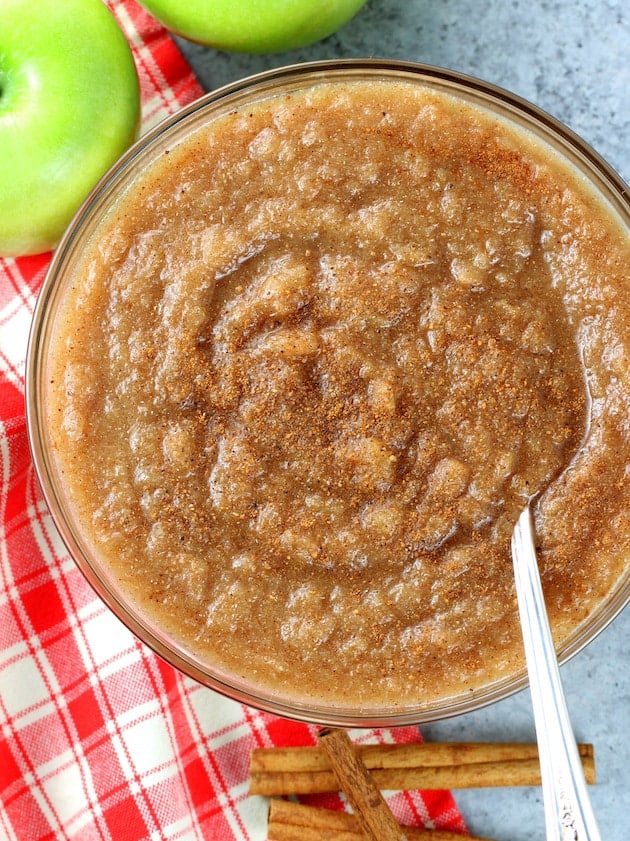
But more about this delicious applesauce recipe!
How to make applesauce:
First, you have to decide what apples you’re going to use. Personally, I like something crisp and tart. Here are the best apples for applesauce, in my opinion of course: Granny Smith apples, Cortland apples, Empire apples, McIntosh apples, or Braeburn apples. I used Granny Smith apples for this recipe.
Next, you have a bit of work to do. You’ll need to peel each apple, remove the core, and slice your apples.
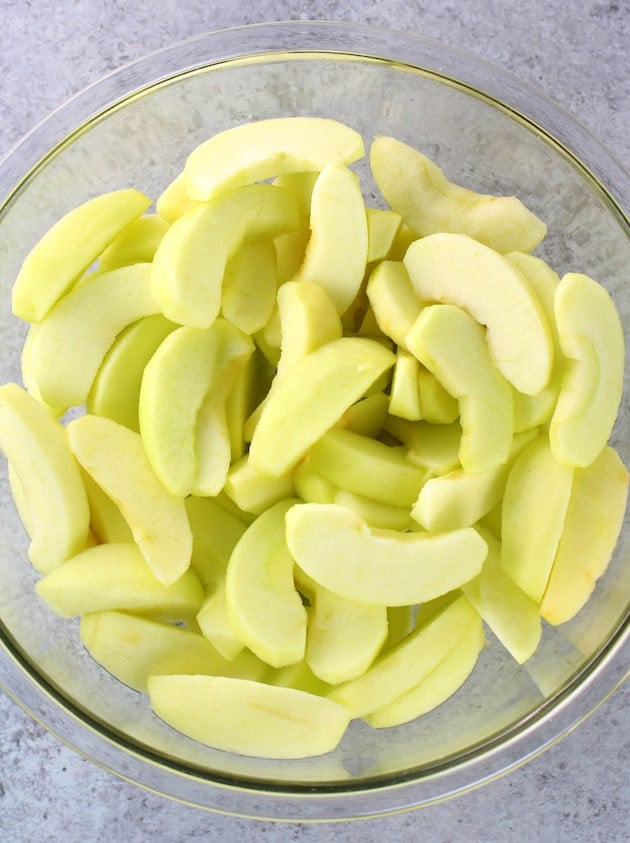
Now toss them with lemon juice, pure maple syrup, melted butter, cinnamon, nutmeg and salt until they are evenly coated.
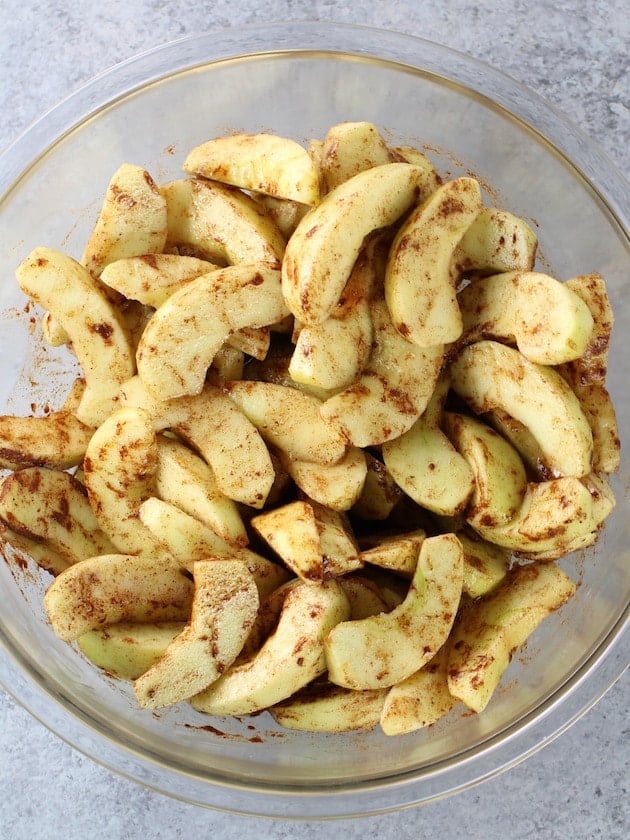
Pour the apple juice in the bottom of the inner pot in the IP.
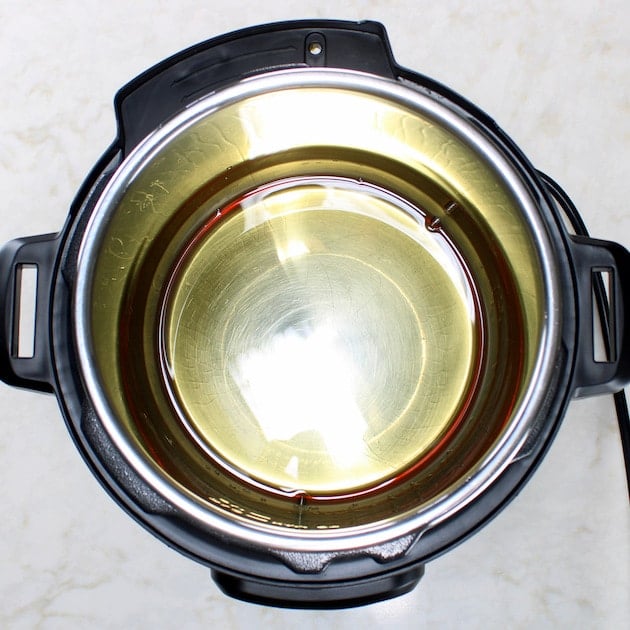
Then add the apples.
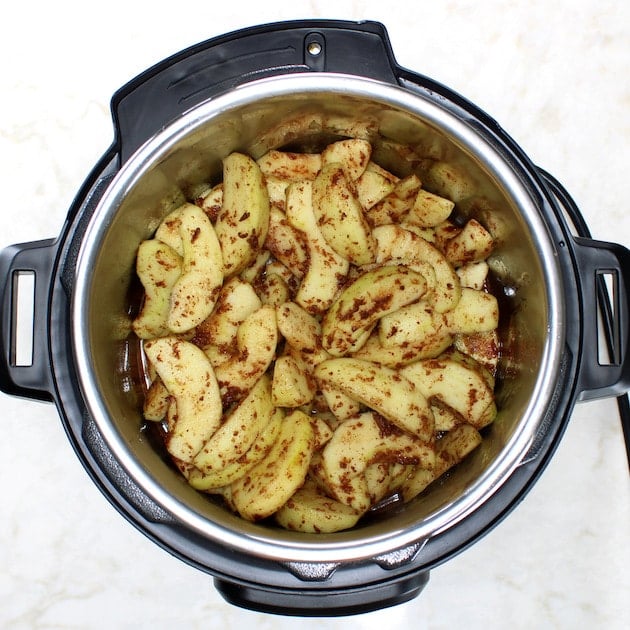
Seal the IP and pressure cook on high pressure for 2 minutes (it will take 12-13 minutes to come to pressure). Allow for a 5-minute natural release, then do a manual quick release which will take another 1-2 minutes.
Remove the lid and turn the IP off. Use a potato masher and mash the cooked apples.
The apples should be completely cooked and reduced to a mashed applesauce. If you like a smoother texture you could pulse it in the blender, the food processor, or use a handheld immersion blender, but I enjoy it just the way it is.
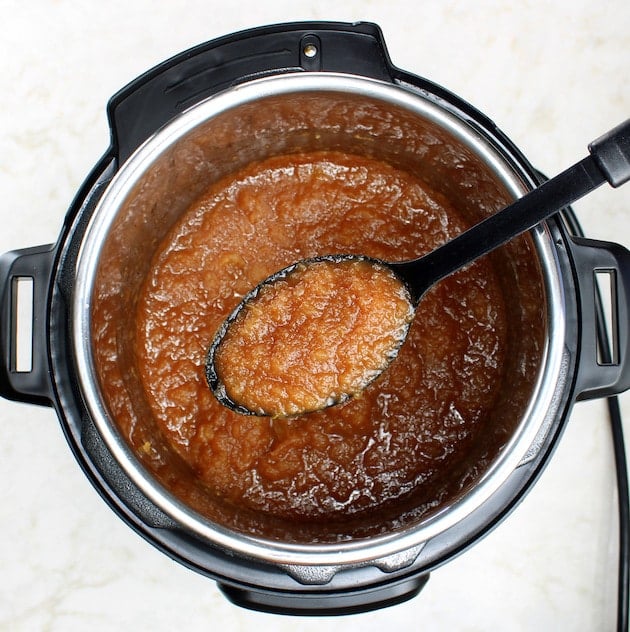
And there you have it, Easy Homemade Instant Pot Applesauce in no time at all.
You can serve it warm or chilled. And it will last in the fridge up to 7-10 days. Of course it will be gone way before then, but just so you know. And yes, of course you can freeze applesauce!
How to freeze applesauce:
You can extend the shelf life of your homemade applesauce significantly by storing it in the freezer. Here’s what you need to do:
- Allow the applesauce to cool completely in the fridge.
- Use quart-sized freezer bags and label them with the date and the contents ("homemade applesauce.")
- Scoop the applesauce into the bags but don’t overfill them. I measure out 2-cup portions for each bag, but use whatever portions make sense for your needs.
- Squeeze any air out of the bags, then lay them flat in the freezer. Applesauce will last about 3-6 months in the freezer.
- When you’re ready to enjoy your applesauce, remove the bag from the freezer and allow it to thaw naturally in the fridge. It will last for 3-4 days.
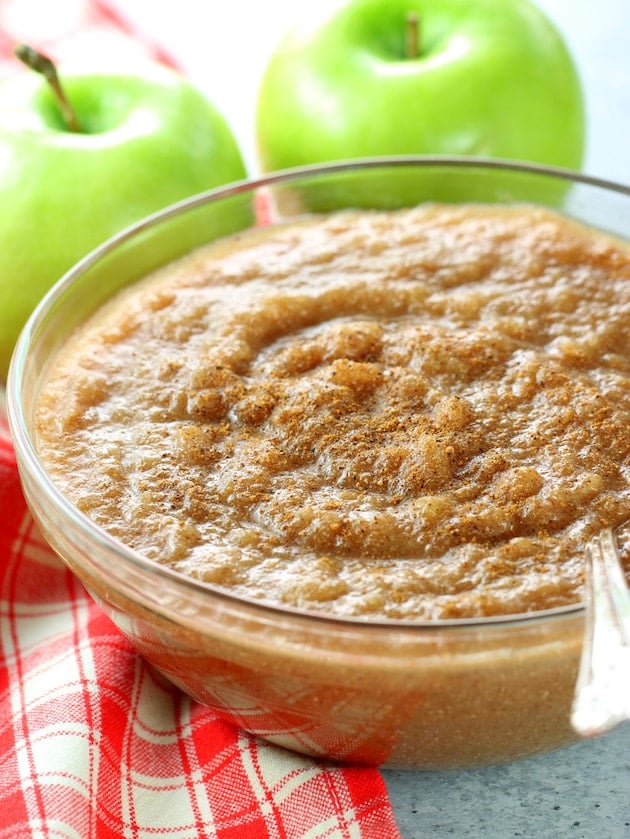
The cinnamon, nutmeg and maple syrup really give this applesauce some good depth and rich flavors. The salt and butter add a nice warmth, kind of like you’re eating homemade apple pie.
I know you and your family will thoroughly enjoy this homemade applesauce recipe!
And remember when life or circumstances aren’t what you’d expected… be flexible, adapt, and adjust your expectations, then enjoy the moment - or the applesauce. XO, Holly
Easy Homemade Instant Pot Cinnamon Applesauce
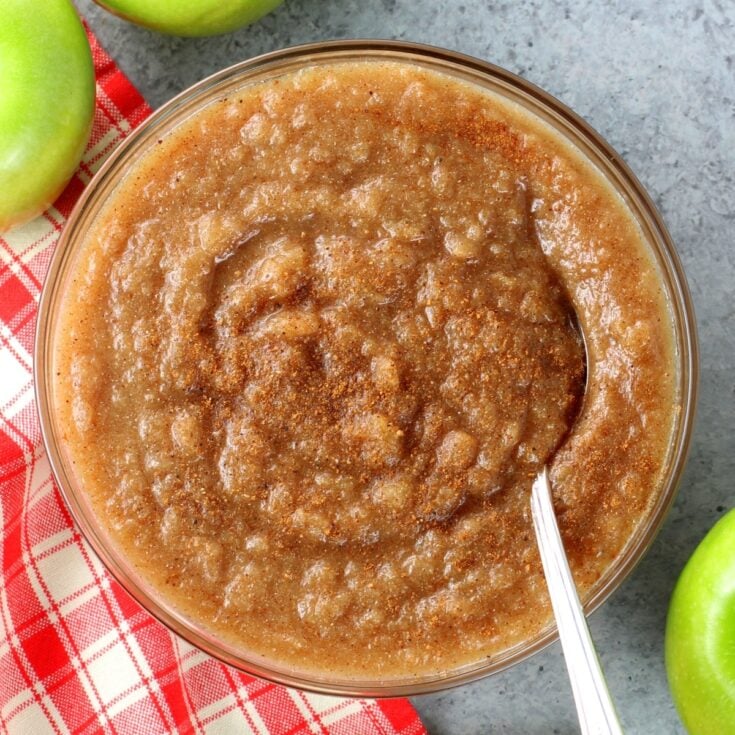
Easy Homemade Instant Pot Cinnamon Applesauce with no refined sugar, and ready in 30 minutes start to finish! It’s so delicious you’ll never want store-bought applesauce again.
Ingredients
- 6 large Granny Smith apples (or any firm tart apples, peeled and sliced into ½ inch thick pieces)
- 1 lemon, juiced
- ½ cup 100% pure maple syrup (if you like sweeter applesauce use ¾ cup if you prefer it more tart use ½ cup.)
- 2 tablespoons salted butter, melted (optional)
- 2 teaspoons cinnamon (add an extra teaspoon if you love cinnamon)
- ½ teaspoon nutmeg
- 1 teaspoon vanilla
- ¼ teaspoon salt
- ¾ cup apple juice
Instructions
- Peel, core, and slice your apples and toss with lemon juice. (I quartered each apple, then removed the core for each piece, then sliced each quarter into 3 slices.)

- Mix together the maple syrup, melted butter, cinnamon, nutmeg, vanilla and salt and pour over the apples and toss until the apples are evenly coated.

- Pour the apple juice into the Instant Pot and add the apples.

- Seal the IP and pressure cook for 2 minutes (it will take 12-13 minutes to come to pressure). Allow for a 5-minute natural release and then do a manual/quick release, which should take just 1-2 minutes.

- Remove the lid and turn the IP off. Use a potato masher and mash the cooked apples. (If you like a smoother texture you could blend the apples with an immersion blender or pulse the mixture in a food processor or a standing blender.)
- Enjoy warm or cold. Store in the fridge for up to 7-10 days.

Nutrition Information
Yield
12Serving Size
0.5 CupAmount Per Serving Calories 131Total Fat 4gSaturated Fat 2gUnsaturated Fat 0gCholesterol 10mgSodium 85mgCarbohydrates 25gFiber 2gSugar 20gProtein 1g

Amanda
So where do you use the lemon?
holly
After you peel, core, and slice the apples you toss them with the lemon juice.