
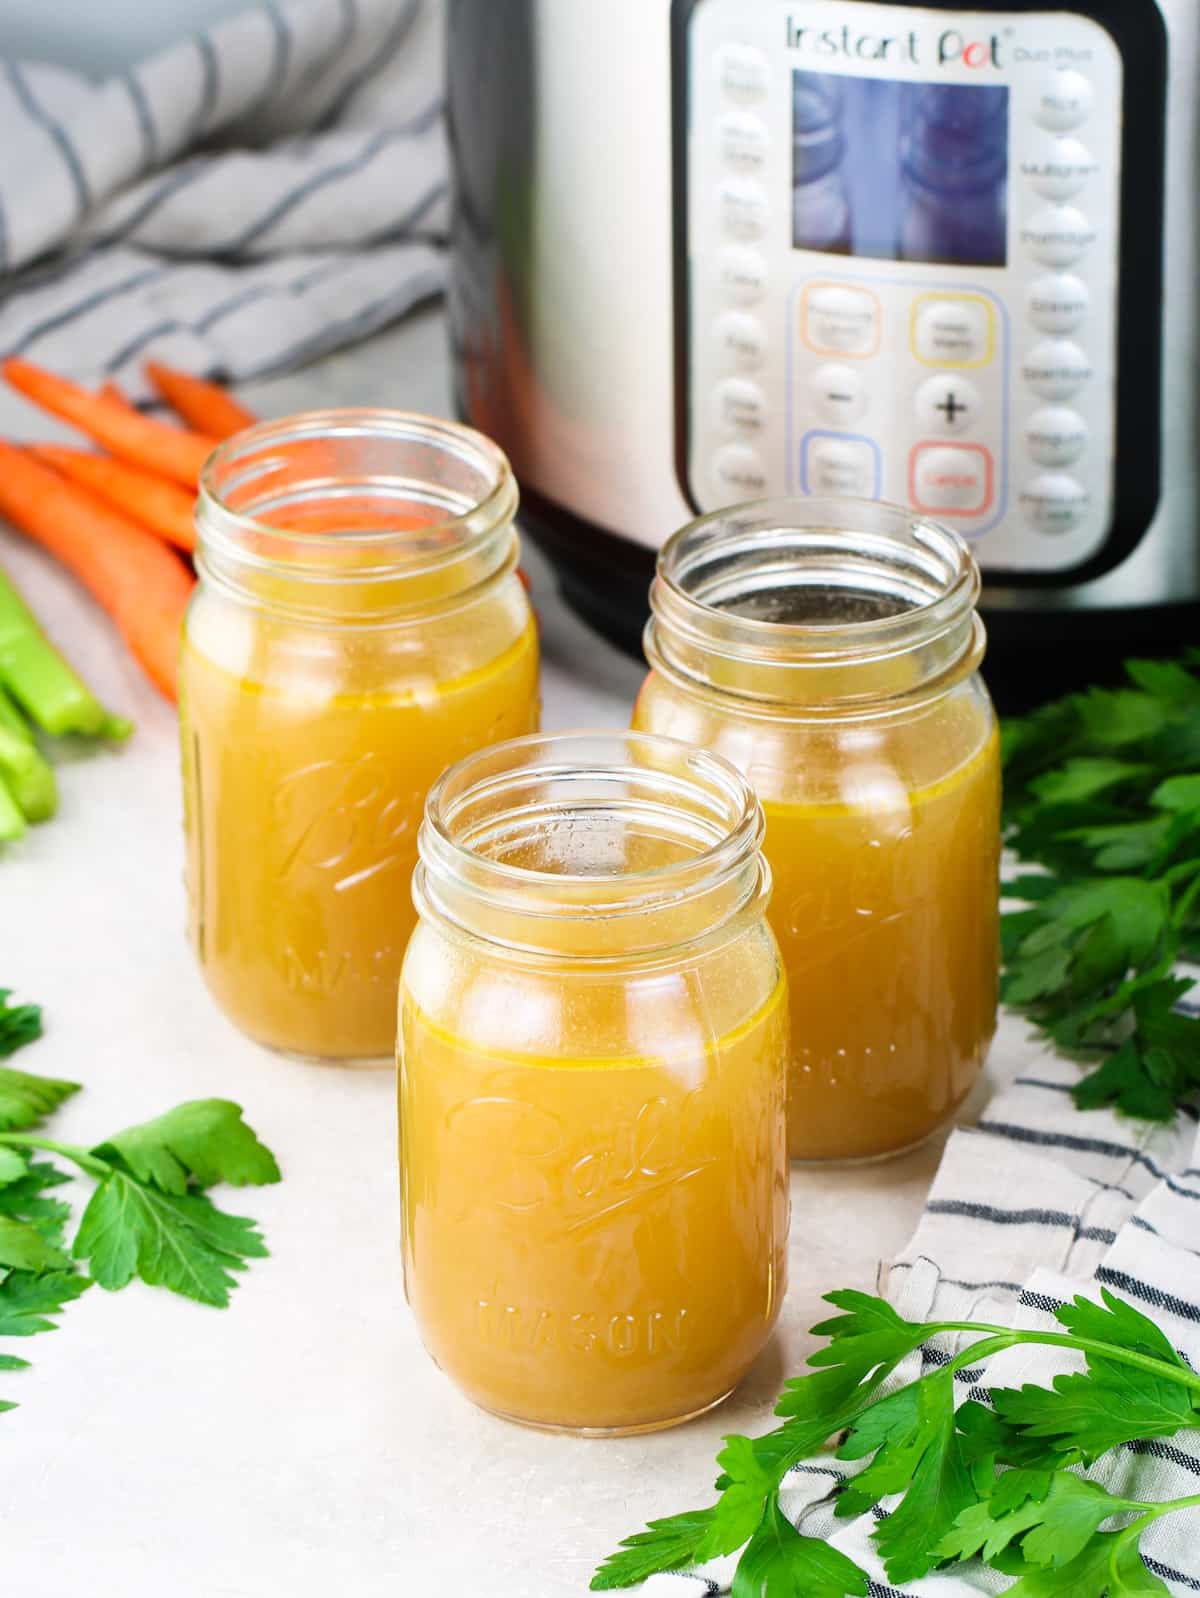
To make Instant Pot bone broth: add 3–4 lbs of chicken or beef bones, chopped vegetables (carrot, celery, onion, garlic), 1 tablespoon apple cider vinegar, and 10–12 cups cold water to the Instant Pot. Pressure cook on HIGH for 120 minutes (chicken) or 180 minutes (beef), then natural release for 20 minutes. Strain and cool. Yields 8–10 cups.
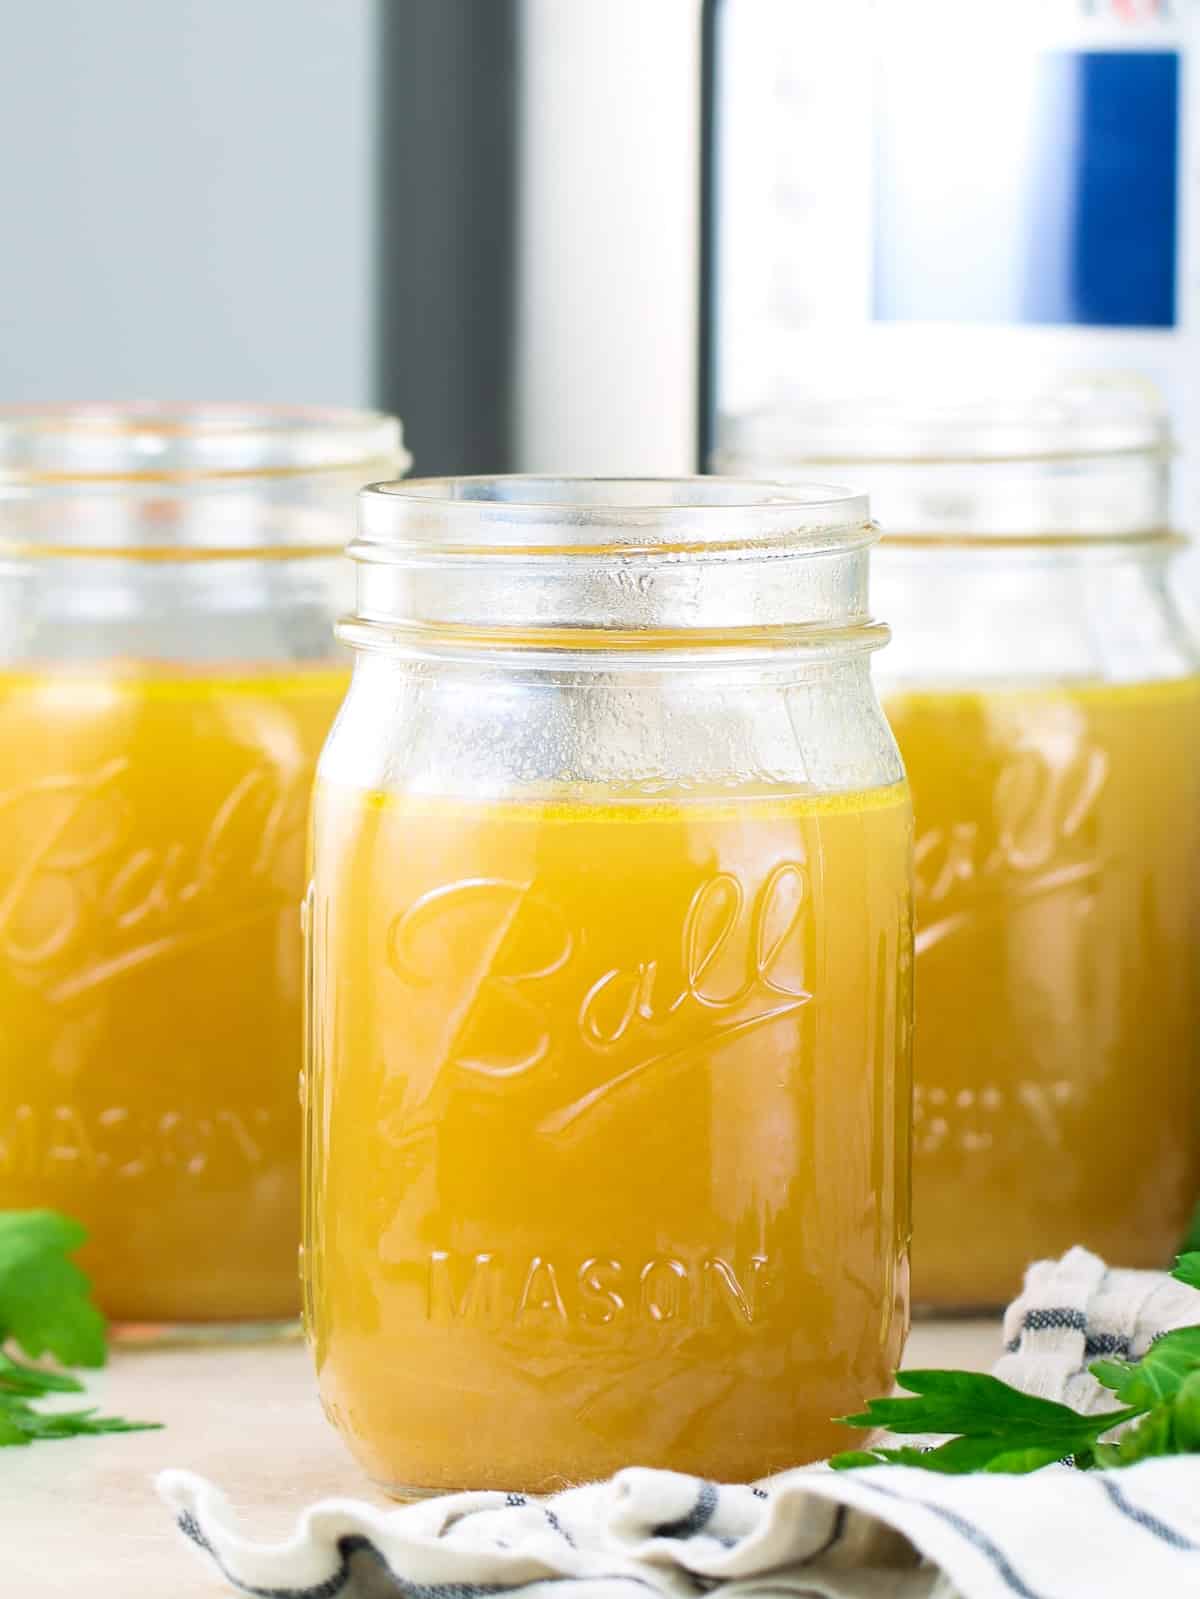
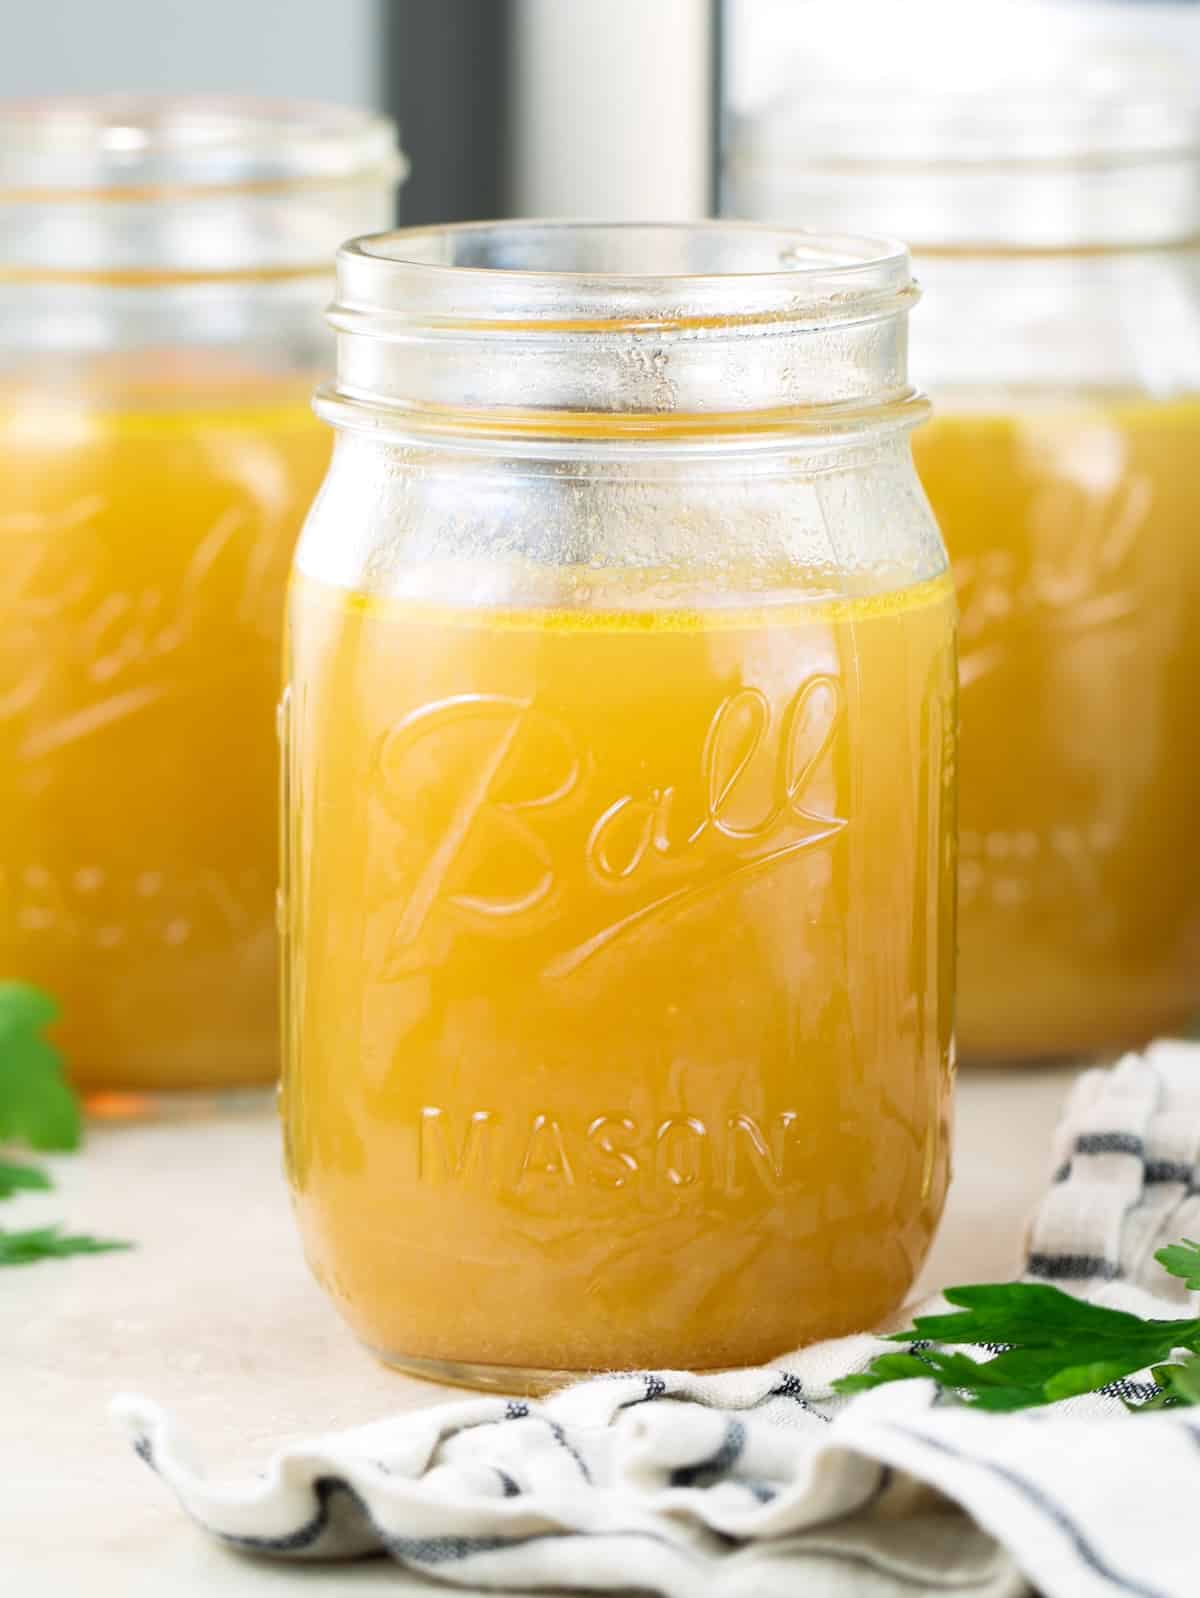
This Instant Pot bone broth is ready in 2–3 hours using real chicken or beef bones, fresh aromatics, simple pantry vegetables, and a splash of apple cider vinegar for a rich, savory flavor. Pressure cooking pulls out collagen and nutrients quickly, giving you rich, homemade broth in a fraction of the time. Once you make it at home, it’s hard to go back to store-bought.
As a recipe developer who has spent 25 years focused on wholesome, from-scratch cooking, bone broth has been in regular rotation in my kitchen for a long time. I’ve tested this Instant Pot bone broth with both chicken and beef bones to get the best flavor, richness, and consistency. This method delivers reliable, gelatin-rich broth every time.
Jump to:
- How to Make Instant Pot Bone Broth
- What Is Bone Broth?
- Bone Broth Benefits
- Why You'll Love This Recipe
- Ingredients for Bone Broth
- How to Make Instant Pot Bone Broth (Step-by-Step)
- Want an Even Richer Broth? Here's the 3-Hour Method
- 2-Hour vs 3-Hour Bone Broth (Quick Guide)
- Chicken Bone Broth vs. Beef Bone Broth — What's the Difference?
- Chicken Bone Broth vs. Chicken Broth — What's the Difference?
- Serving Suggestions
- How to Store, Reheat & Freeze Bone Broth
- Frequently Asked Questions
- Instant Pot Bone Broth Recipe
How to Make Instant Pot Bone Broth
- Add bones, vegetables, and apple cider vinegar to the Instant Pot
- Fill with water (do not exceed max line)
- Pressure cook on HIGH for 2–3 hours
- Let pressure release naturally for 20–30 minutes
- Strain and cool
This creates rich, homemade bone broth in about 2.5–3 hours.
What Is Bone Broth?
Bone broth is a nutrient-rich liquid made by simmering animal bones (like chicken or beef), connective tissue, vegetables, and herbs for an extended time. This process extracts collagen, minerals, and gelatin, creating a rich, flavorful broth that becomes slightly thick when cooled.
Using the Instant Pot speeds up the process, giving you the same slow-simmered results, in just a few hours.
Bone Broth Benefits
Here are the main benefits of bone broth:
- Collagen & Gelatin: Collagen is the most talked about bone broth benefit. It's the most abundant protein in the body and breaks down into gelatin during the cooking process. Gelatin supports healthy skin elasticity, joint cushioning, gut lining integrity, and hair and nail strength.
- Amino Acids: Bone broth is rich in glycine, proline, and glutamine — amino acids that are hard to get in adequate amounts from muscle meat alone. Glycine supports liver function, sleep quality, and muscle repair. Glutamine is one of the primary fuel sources for the cells lining the gut.
- Minerals: Slow cooking or pressure-cooking draws calcium, magnesium, phosphorus, and potassium out of the bones and into the broth. These minerals are essential for bone density, nerve function, and overall cellular health.
- Gut Support: The combination of gelatin, glutamine, and glycine makes bone broth one of the most gut-friendly foods you can consume.
- Easy to Digest: Unlike other high-protein foods, bone broth is exceptionally easy on the digestive system. That makes a healthful option when recovering from being sick, or managing food sensitivities.
Why You'll Love This Recipe
- Real ingredients, real flavor: Fresh bones, aromatics, and vegetables create a rich, deep flavor that’s incredibly satisfying.
- Ready in just 2-3 hours: High-pressure cooking delivers what a stovetop takes all day to achieve.
- Easy: Completely hands-off once the lid is sealed and the Instant Pot is pressurizing.
- Versatile: Sip it straight from a mug, use it as a base for soups and stews, braise meats in it, or cook your grains in it — it makes everything taste better.
- Great for Meal-prep and is Freezer-friendly: Makes 8–10 cups per batch and freezes beautifully for up to 6 months.
- Works for everyone: Naturally Keto, Paleo, Whole30, and AIP compliant. Make it with beef, chicken, or a mix of the two.
Ingredients for Bone Broth
Makes approximately 8–10 cups of finished bone broth.
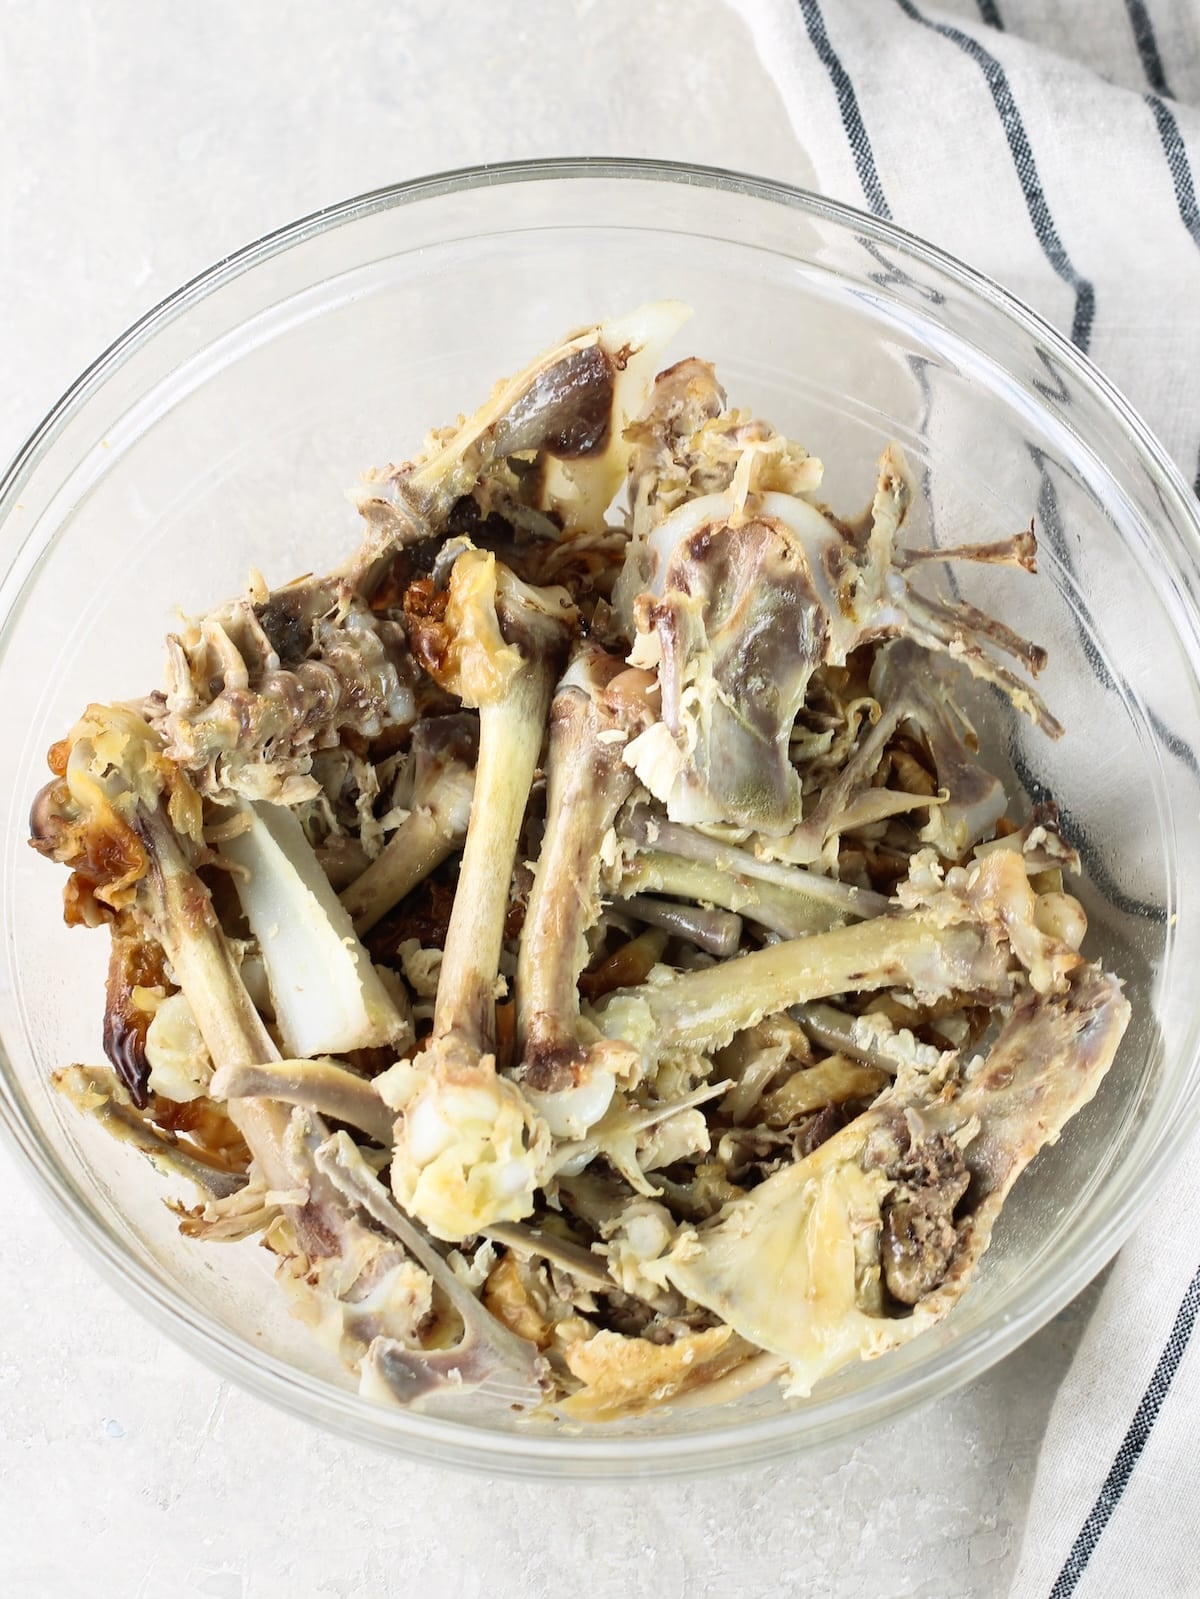
The Bones - they are the foundation of nourishing bone broth.
- 3–4 lbs. chicken carcasses/backs/feet
- Or 3–4 lbs. beef bones (knuckles, marrow bones, oxtail, short ribs, or a mix).
Tips for the bones:
- Freeze leftover chicken carcasses or beef bones in a zip-lock bag until you have enough for a batch. It's a great way to make use of every part of what you buy.
- Purchase bones from a butcher, farmers' market, or the meat counter of a good grocery store. Ask for 'soup bones' — they're often inexpensive or even free.
- Combining marrow bones (richness) with knuckle or joint bones (body and collagen) gives you the most well-rounded, satisfying result.
- Combine chicken and beef bones for a layered, full-body flavor.
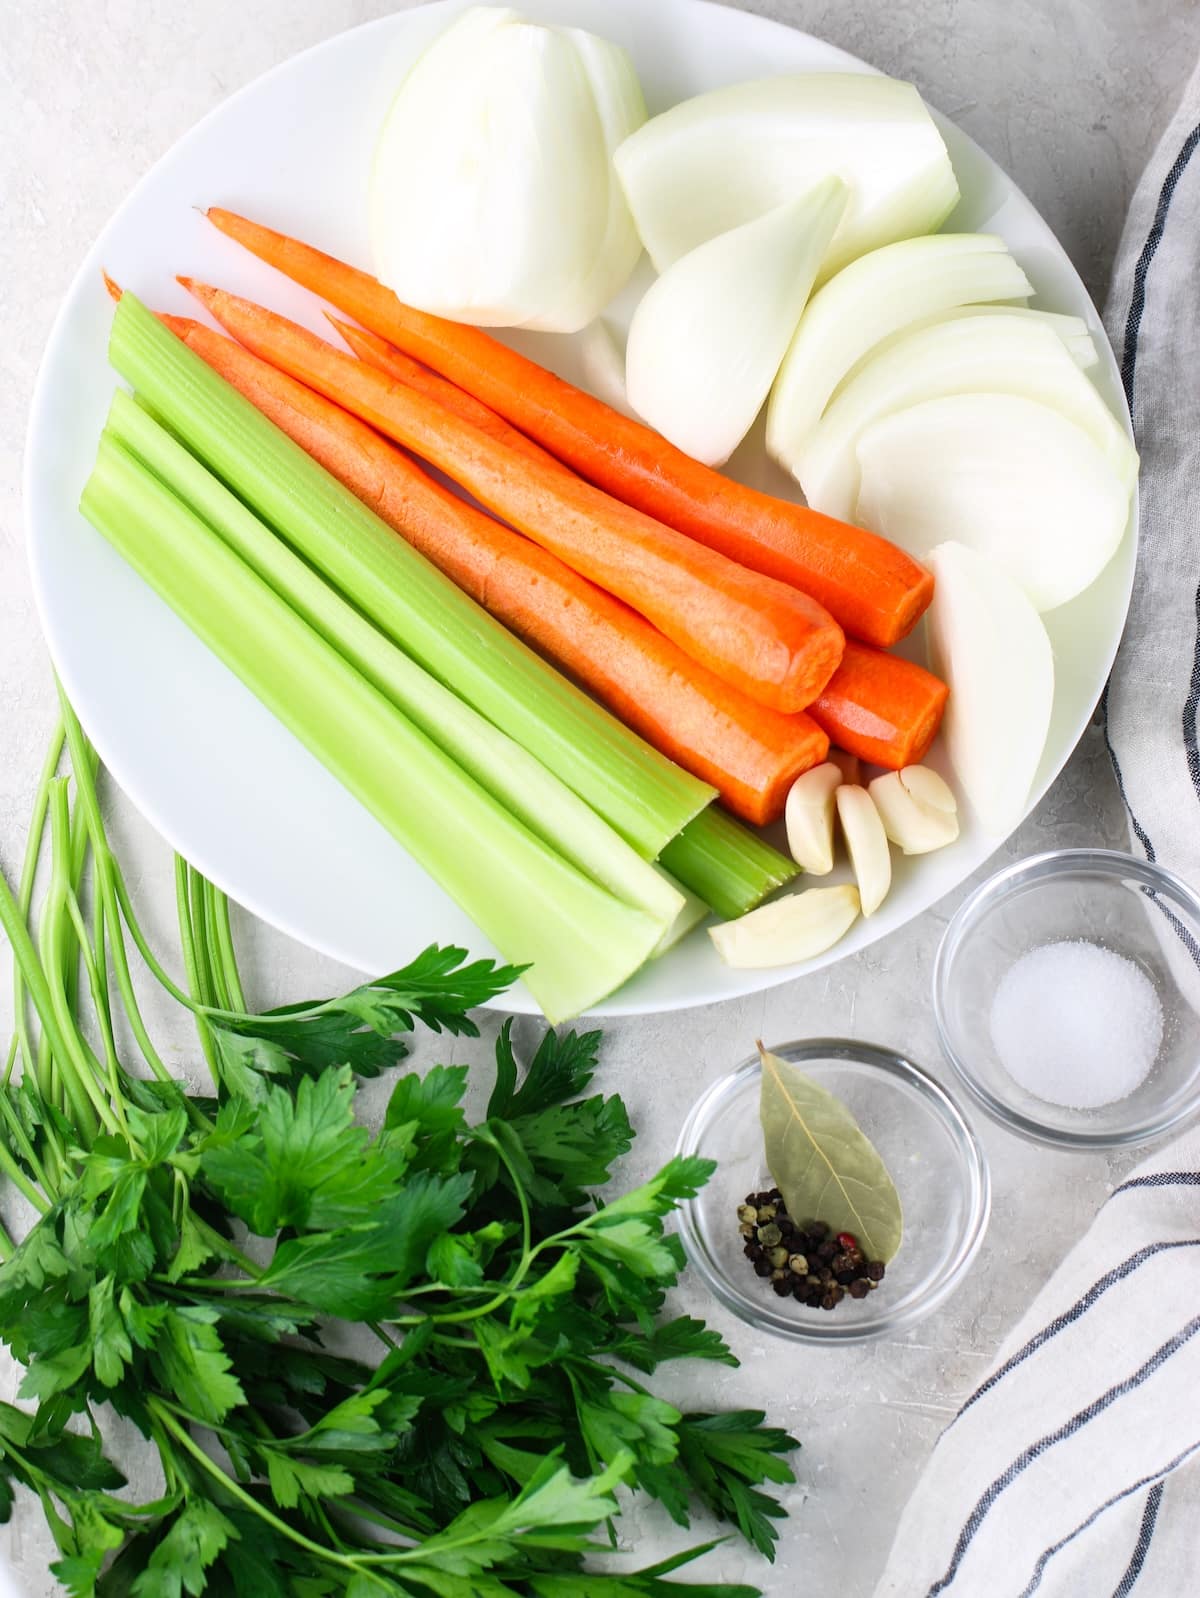
Aromatics & Vegetables
- 3 medium carrots, peeled roughly chopped — adds natural sweetness and a warm golden color. (I peel my carrots because they taste sweeter, and cleaner, while unpeeled carrots have a more rustic, earthy, and sometimes slightly bitter flavor.)
- 3 celery stalks, roughly chopped — gives a savory depth and a mild herbal note.
- 1 large onion, roughly chopped (I remove the peel and root because sometimes they have dirt stuck to them).
- 4 cloves garlic, smashed and peeled — adds rich, savory depth without overpowering.
- 1-2 bay leaves — gives a subtle earthy herbaceous flavor.
- 1 tsp whole black peppercorns — adds gentle heat and rich, complex flavor.
- Handful of fresh parsley and stems, roughly chopped — brightens the overall flavor. You can swap parsley out for other herbs like thyme, sage, or rosemary.
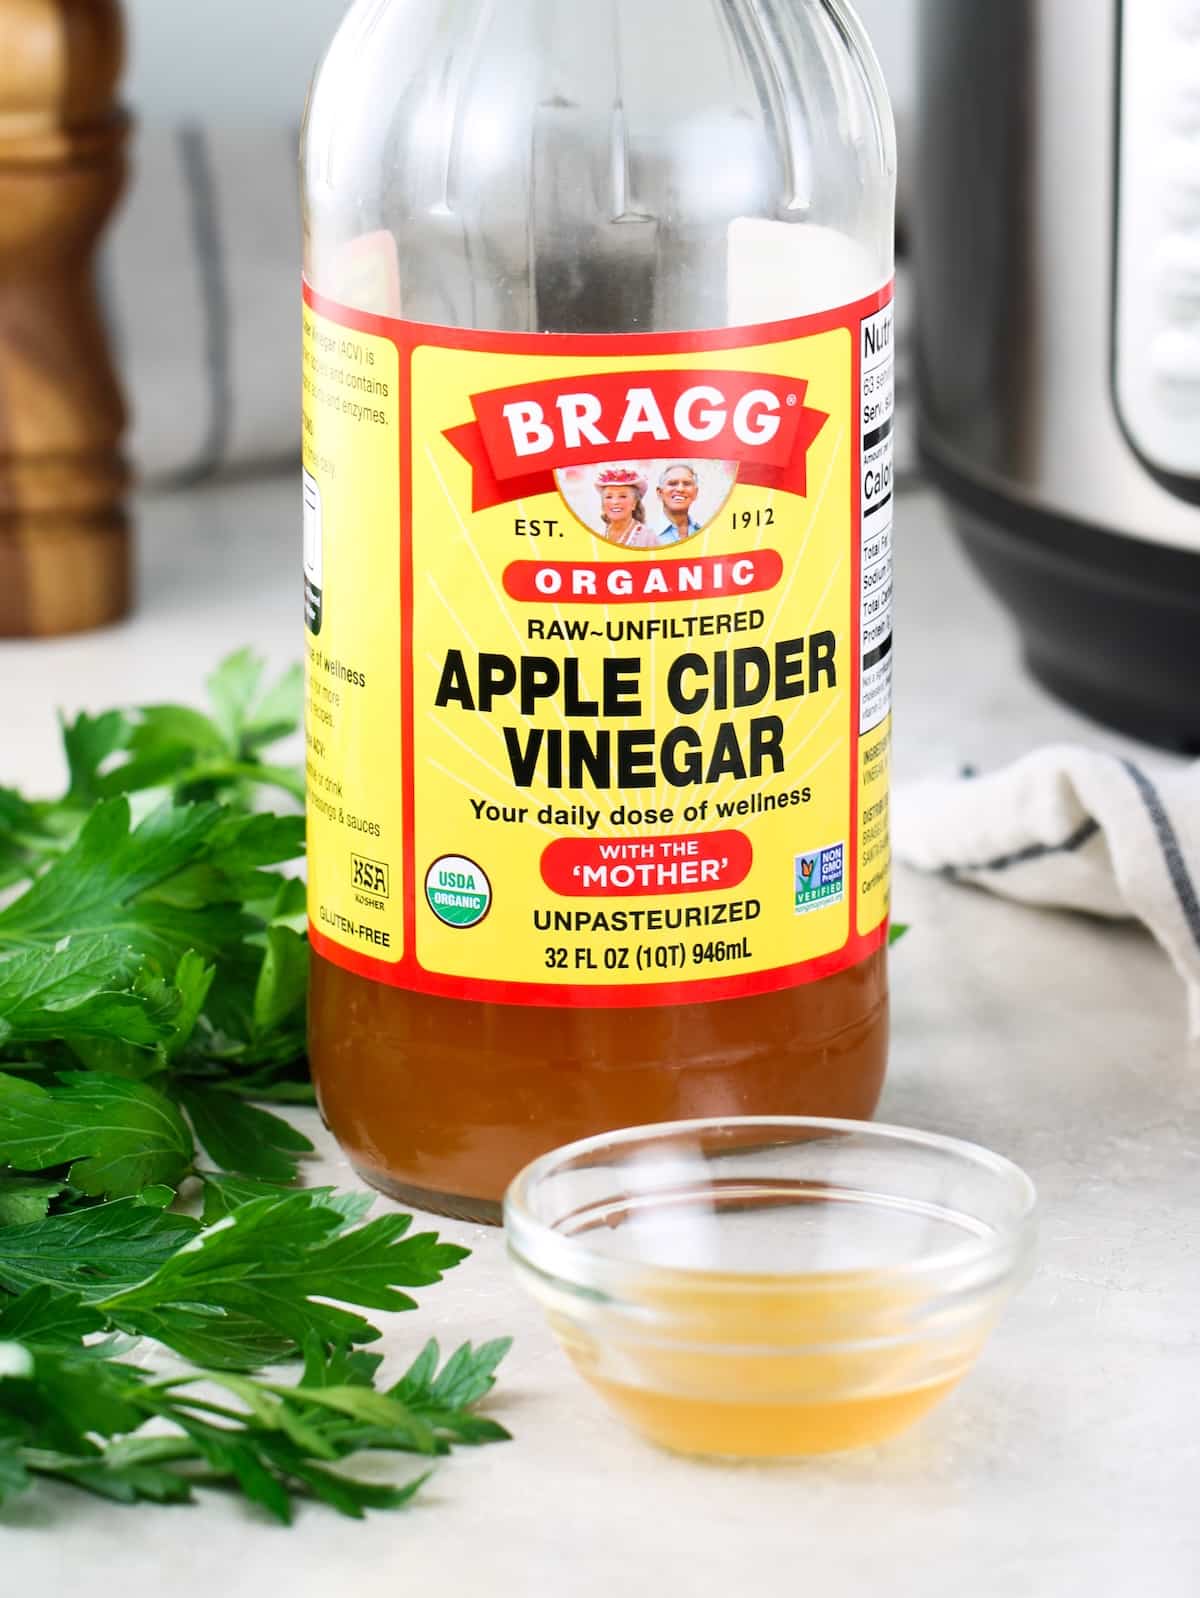
The Secret Ingredient
1 tablespoon apple cider vinegar — This adds mild acidity and helps draw minerals and collagen out of the bones during cooking without making the broth acidic. And you won't taste it in the finished broth. White wine vinegar can work as a substitute.
Liquid
- 10–12 cups cold filtered water — (enough to reach the Instant Pot's Max Fill line — do NOT exceed it)
- 1 tsp fine sea salt (optional) — If you're making broth for sipping you can add some salt for balance, if you’re planning to use the broth as an ingredient for soups, stews, or braises, be mindful of overseasoning.
How to Make Instant Pot Bone Broth (Step-by-Step)
This is the everyday method — rich, flavorful, nourishing, and ready in about 2 hours and 30 minutes start to finish.
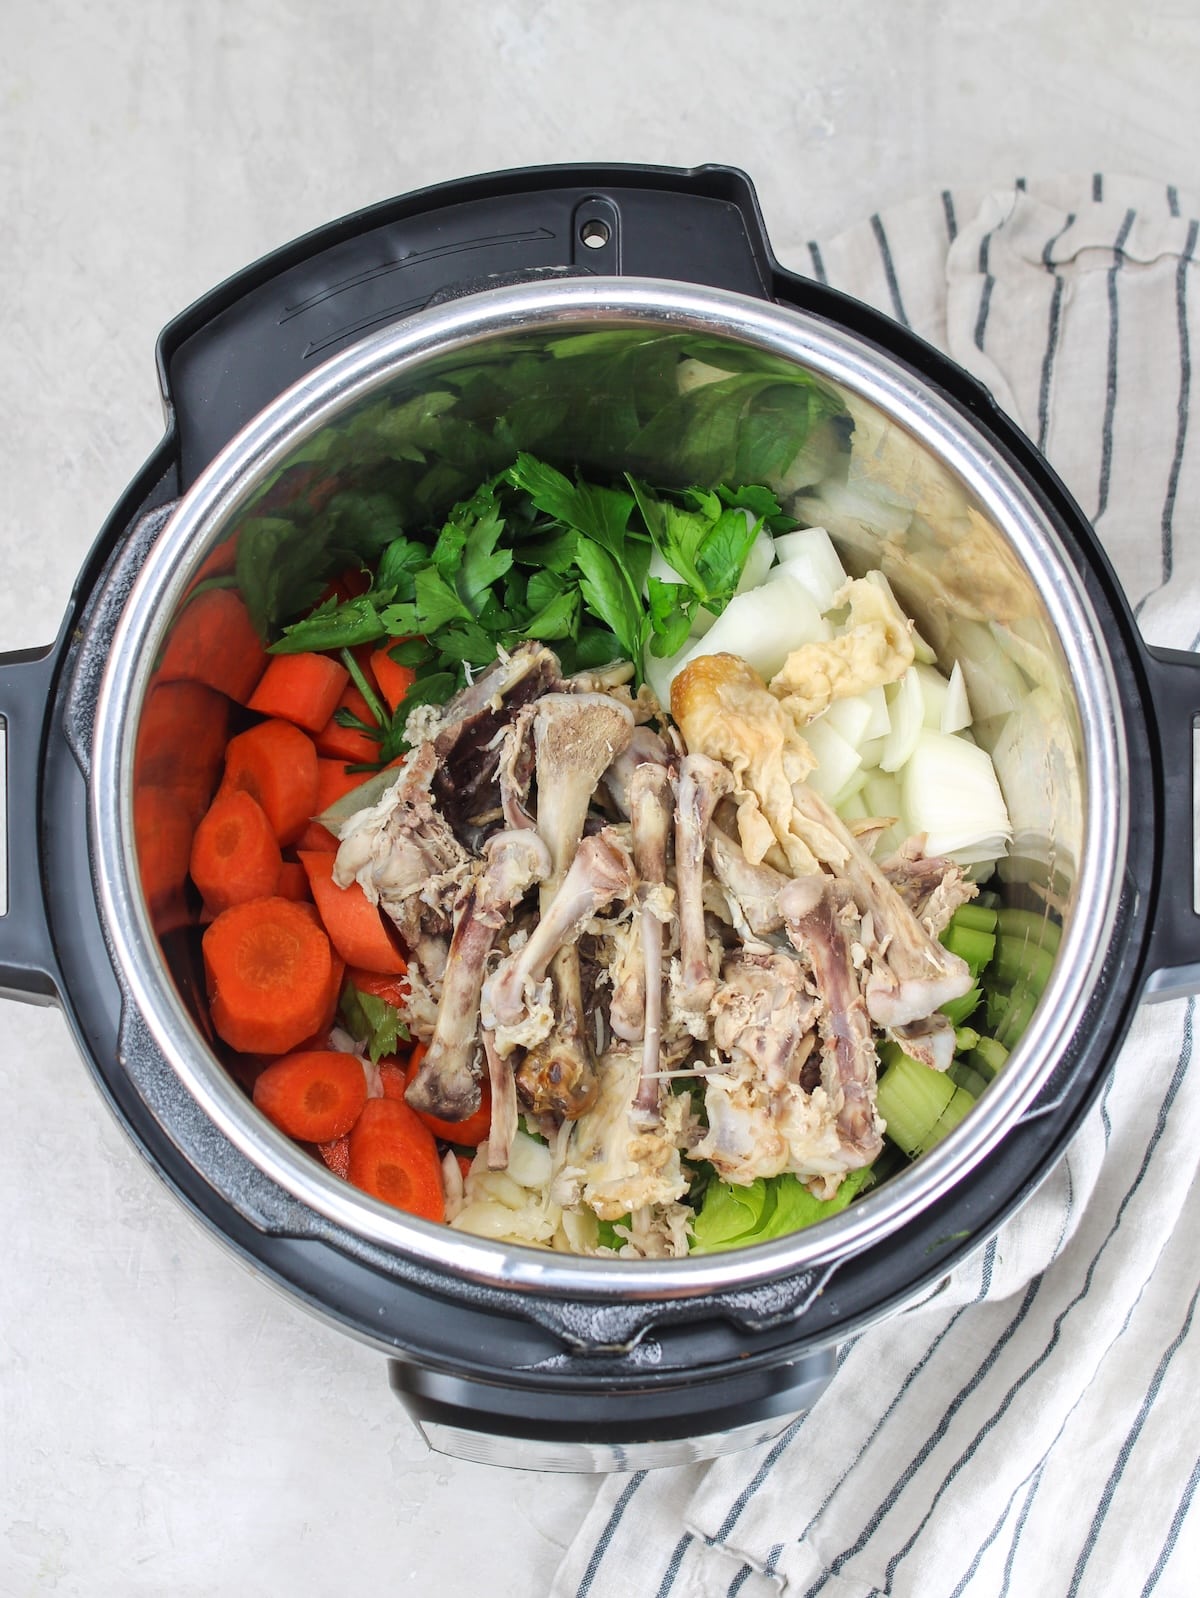
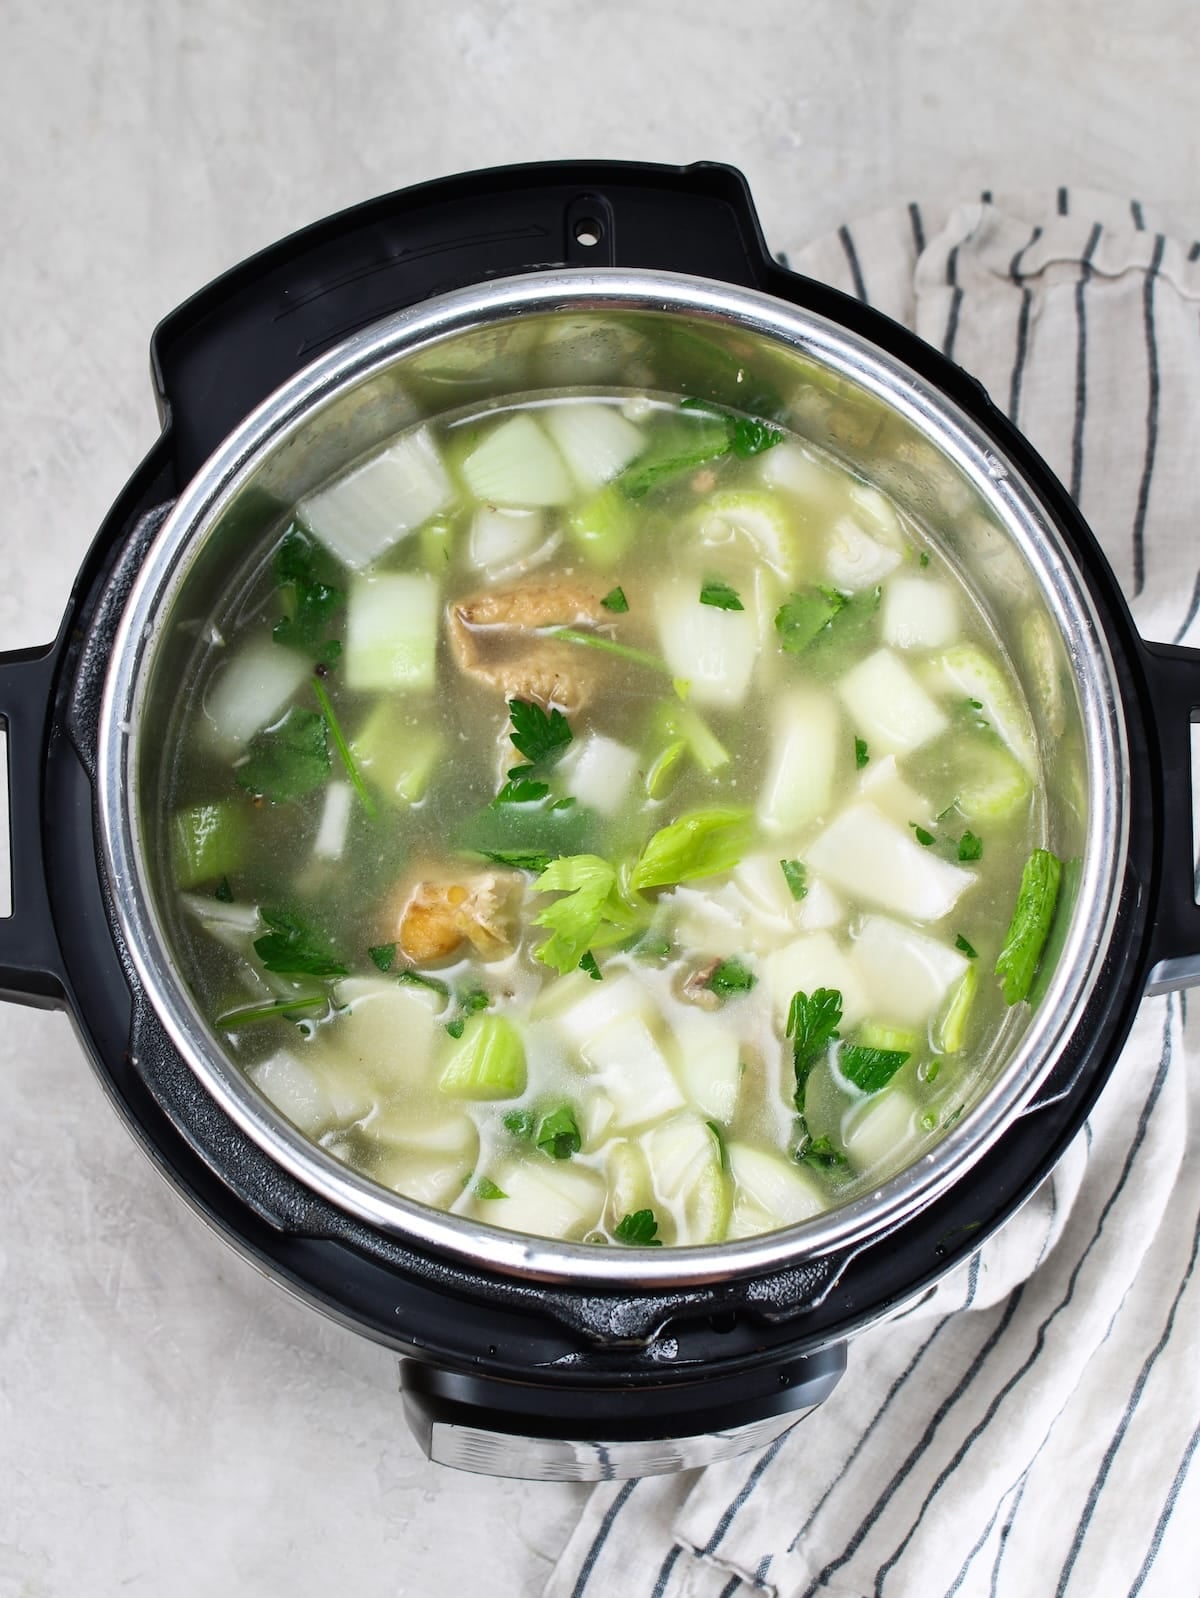
Step 1: Add Aromatics & the Bones
Add the rough chopped carrots, and celery, onion, smashed garlic, bay leaves, peppercorns, salt (if using) parsley stems and the bones in the Instant Pot.
Note: I peel my carrots becasuse they taste sweeter, and cleaner, while unpeeled carrots have a more rustic, earthy, and sometimes slightly bitter flavor.
Step 2: Add Water and Apple Cider Vinegar
Pour in cold filtered water and the apple cider vinegar until you reach the Max Fill line (approximately 10–12 cups). Never exceed the Max Fill line.
Step 3: Seal and Pressure Cook for 2-3 Hours
Seal the Instant Pot, select Manual / Pressure Cook on HIGH PRESSURE for 120 minutes (2 hours for chicken bones and 3 hours for beef bones). The Instant Pot will take 20-25 minutes to come to pressure before the timer begins.
Step 4: Natural Pressure Release
When cooking is complete, allow a natural pressure release for 20 minutes before switching the valve to venting. A slow release produces a clearer, more refined broth and gives the proteins time to settle.
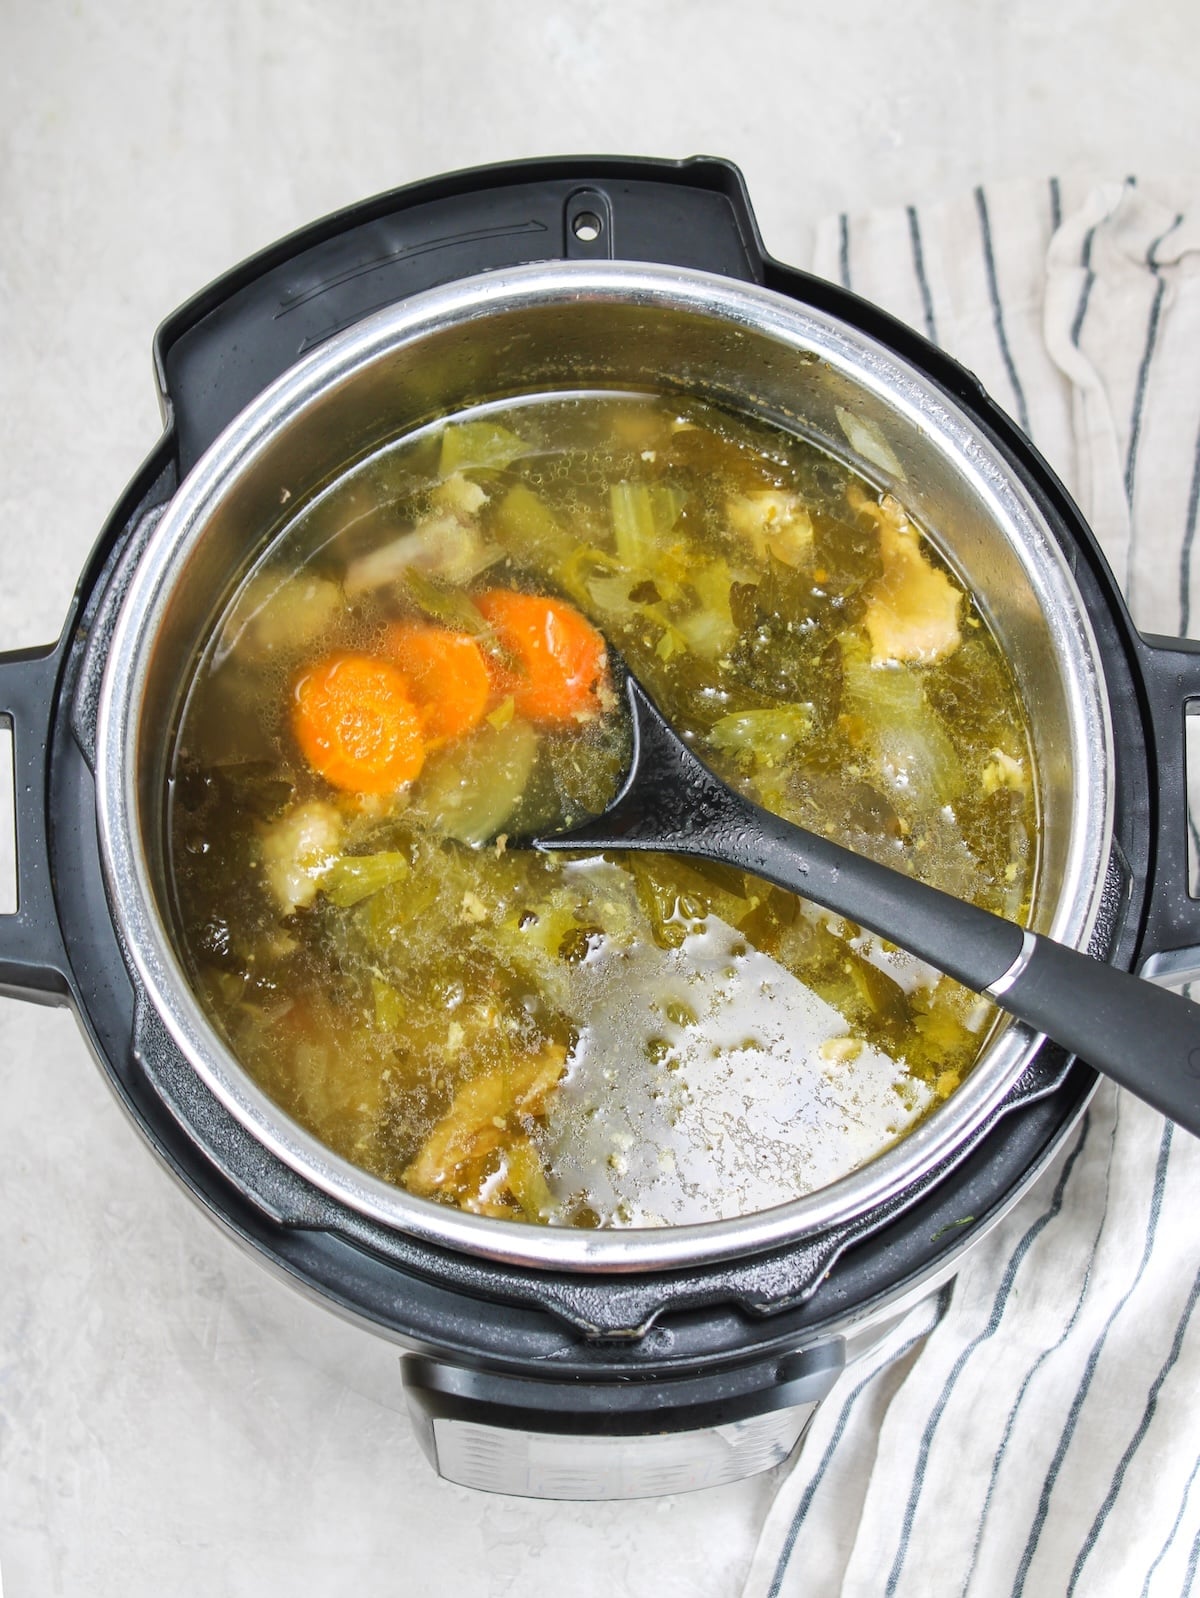
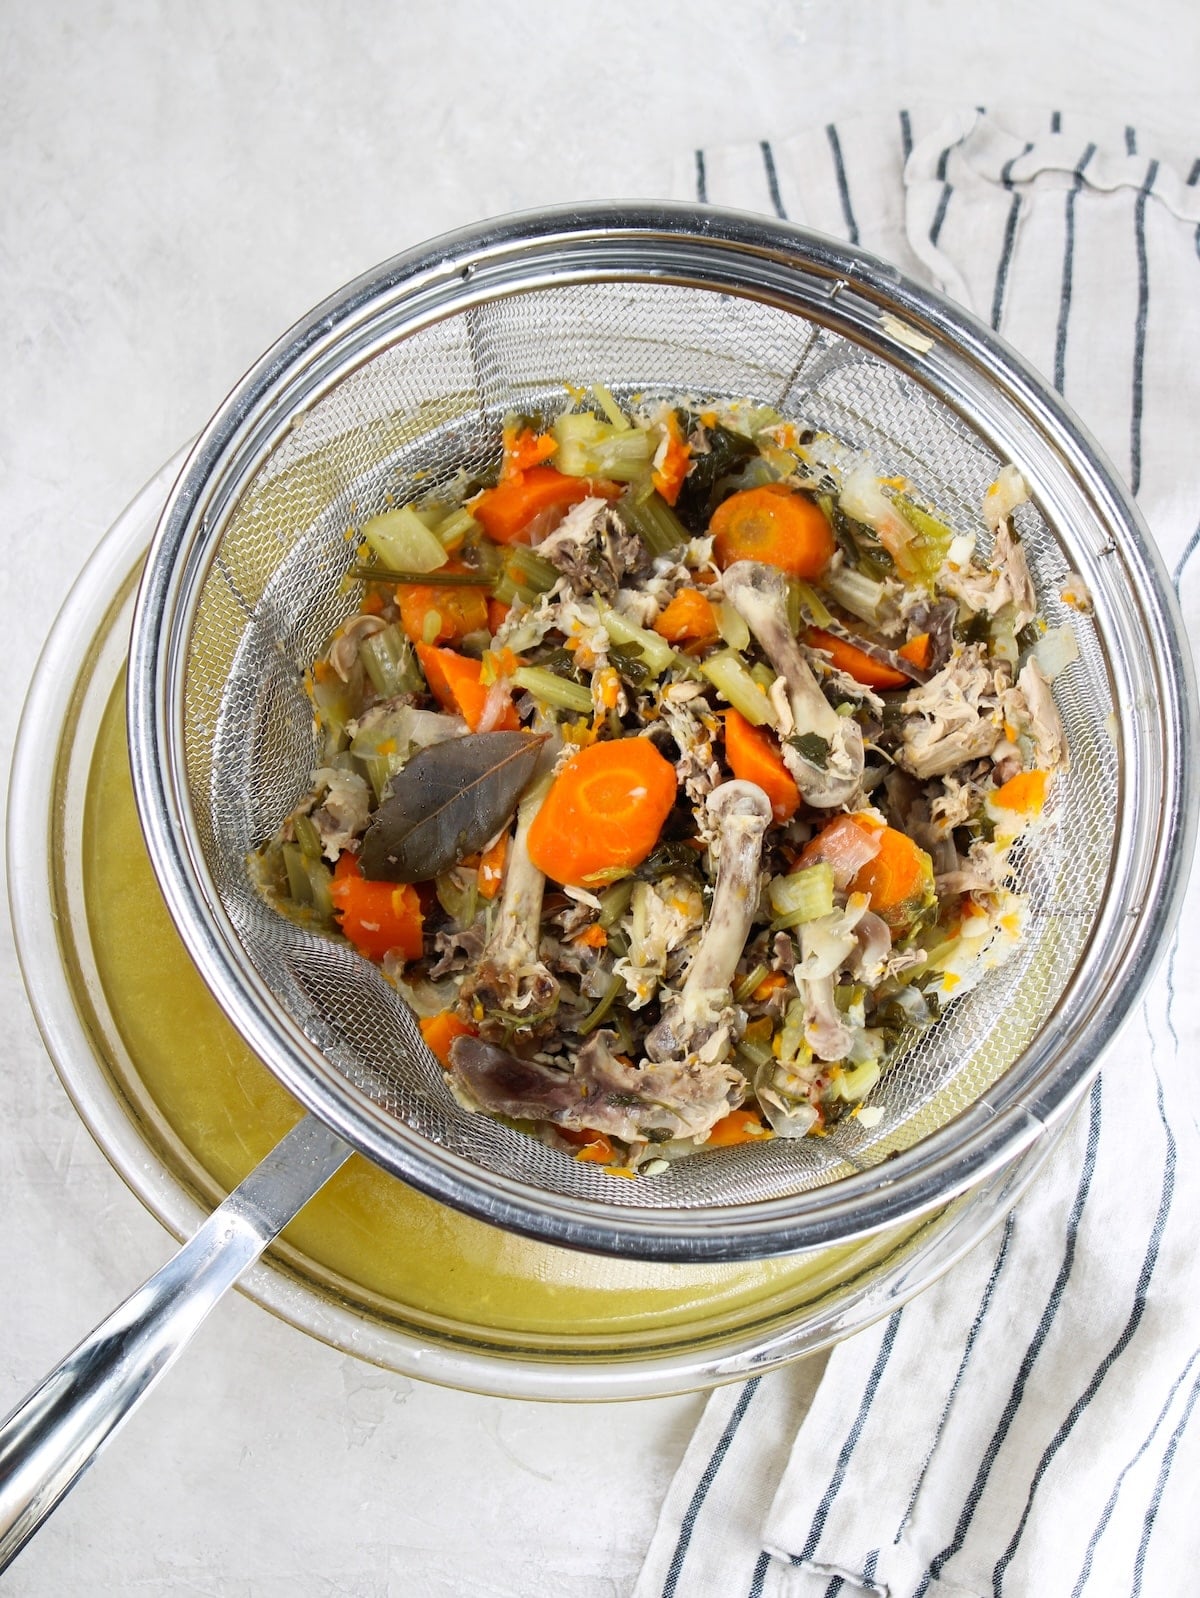
Step 5: Strain
Remove the lid carefully. Using tongs, remove the large bones. Place a fine-mesh strainer over a large bowl or pot. Pour or ladle the broth through the strainer and discard all solids.
Note: For extra clear broth line the strainer with cheesecloth.
Note: For extra rich and nutrient dense broth press the vegetables while in the strainer to add more of their natural juices to the bone broth. It won't be as clear and filtered but it will have even more flavor.
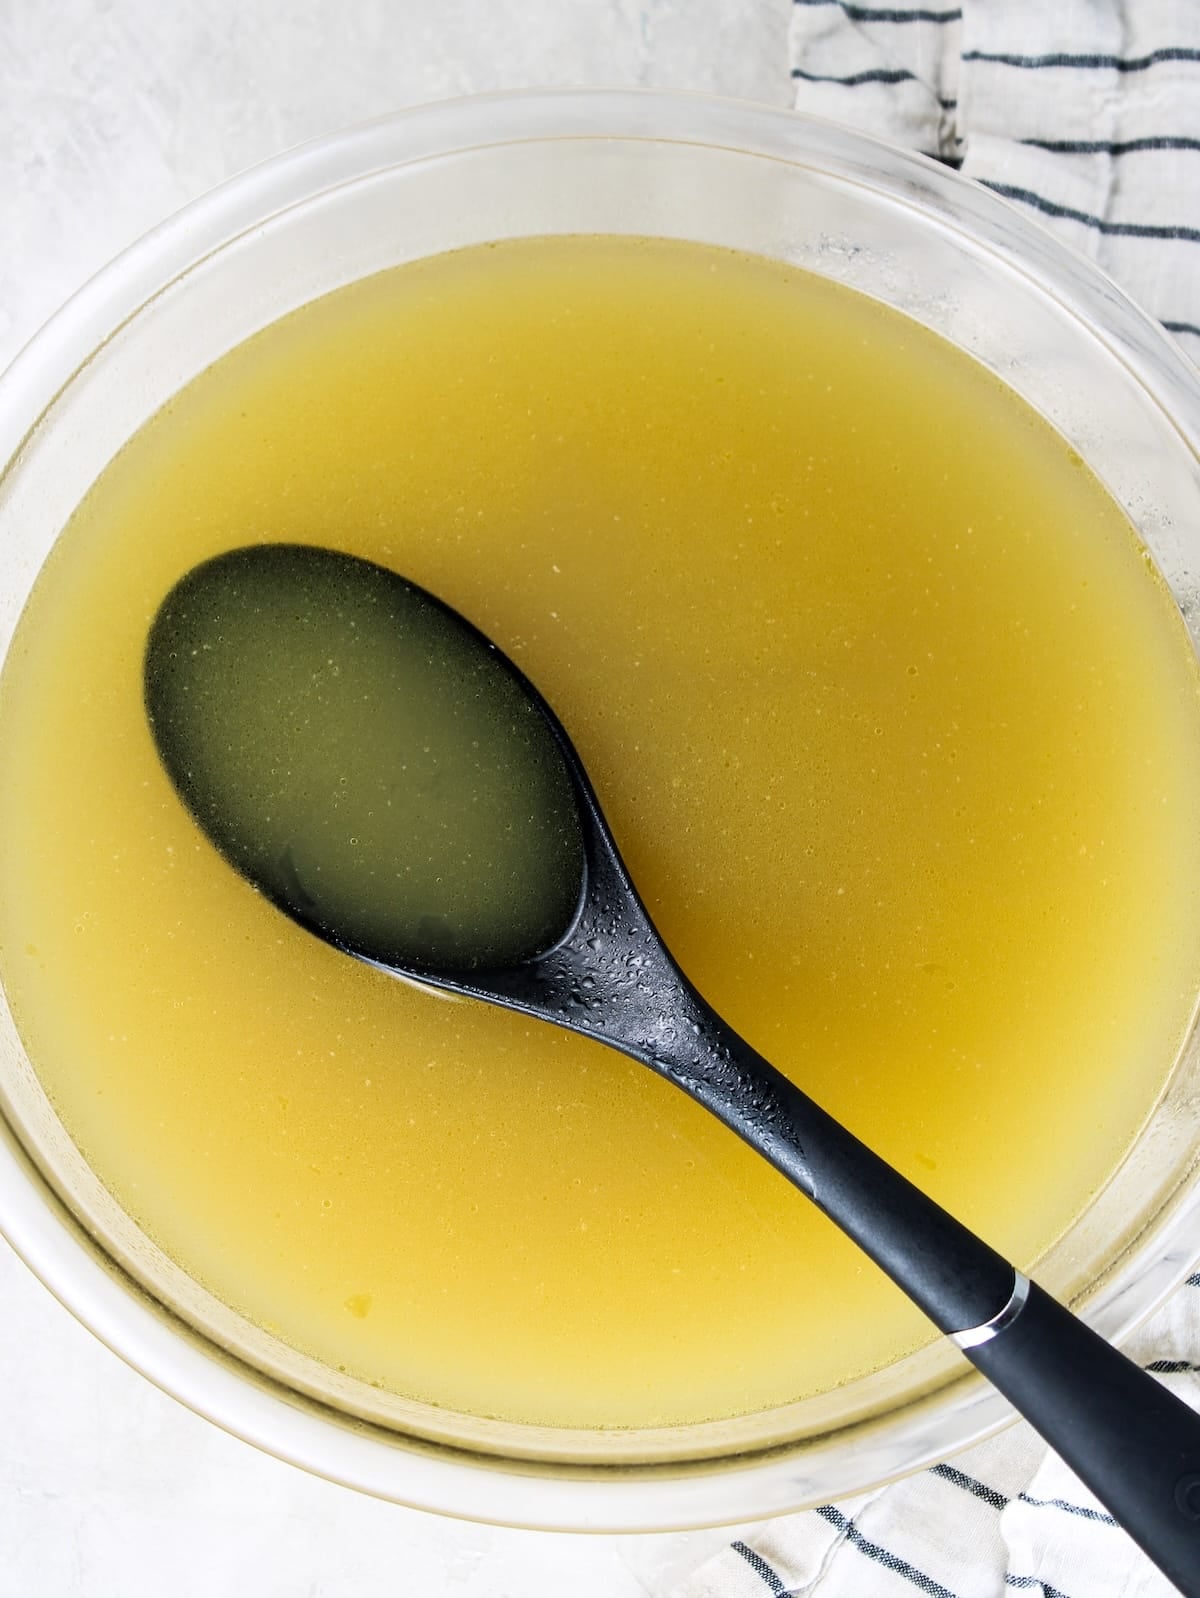
Step 6: Cool & Chill
Let the broth cool to room temperature, then refrigerate. Once chilled, the fat will rise and solidify on the surface for easy removal — or leave it in for added richness. Now your broth is ready to use, refrigerate, or freeze.
Want an Even Richer Broth? Here's the 3-Hour Method
The longer cook time (180 minutes) for the bones, aromatics, vegetables, water and ACV delivers a more gelatinous, collagen rich broth.
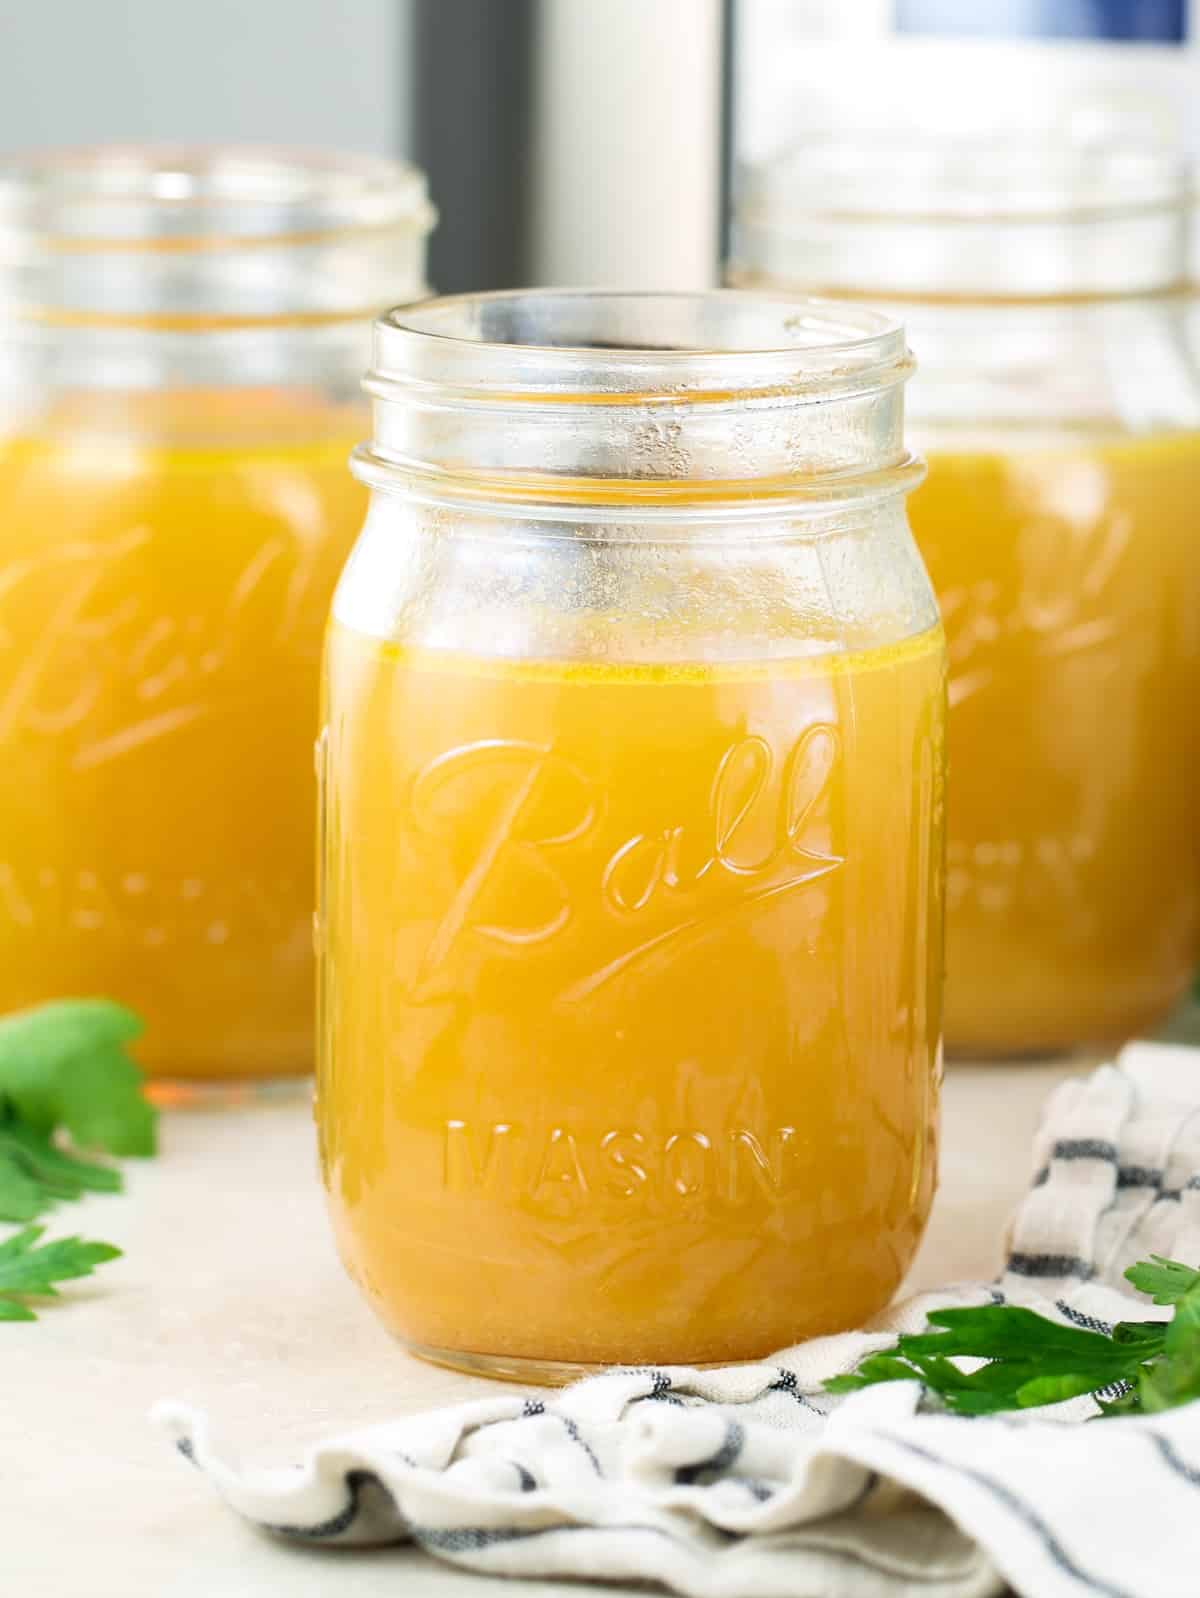
Why Does Bone Broth Turn to Jello?
When you apply heat and pressure over time, collagen slowly breaks down into gelatin. The longer you cook, the more collagen converts, and the firmer (resembling jello) your chilled broth will be. It melts right back to liquid the moment heat touches it.
What Makes It So Good for You?
Gelatinous broth is richer in collagen, gelatin, and amino acids. These are the benefits of bone broth that help with gut health, joint support, and skin hydration.
Ready to Try It? Here's How to Get That Jello Wobble Every Time
Follow the original recipe given with just one change: set your Instant Pot to HIGH PRESSURE for 180 minutes (3 hours) instead of 120 minutes. That's it — same bones, same aromatics, same ACV, same natural release, same straining. Just a little more time.
Note: Even if your broth doesn’t fully gel, it’s still delicious and nourishing.
2-Hour vs 3-Hour Bone Broth (Quick Guide)
| Result | Best for | |
| 2 hours | Lighter broth, great for everyday cooking | Cooking grains, light soups |
| 3 hours | Richer broth with more gelatin and body | Sipping, gut health, Jello-set |
If your broth turns jelly-like in the fridge, that’s a sign it’s rich in collagen.
Chicken Bone Broth vs. Beef Bone Broth — What's the Difference?
This recipe works with both chicken and beef broth. The same method, the same aromatics, with slightly different cook times. Chicken and beef bone broths have distinct characteristics, and knowing the difference helps you choose the right one for what you're making.
| Chicken Bone Broth | Beef Bone Broth | |
| Flavor | Light, delicate, and gently savory | Rich, deep, bold, and complex |
| Color | Pale golden to amber | Deep amber to dark brown |
| Best bones | Carcasses, backs, necks, and feet | Very high — especially with knuckles and joints |
| Collagen content | High — especially with feet and joints | Very high — especially with knuckles and joints |
| Best used for | Sipping, light soups, ramen, and cooking grains | Hearty stews, braises, gravies, and French onion soup |
| Cook time | 2 hours at HIGH pressure | 2–3 hours at HIGH pressure |
If you're just getting started, chicken bone broth is the way to go. Its lighter flavor works in just about any recipe without overpowering the dish, and it's perfect for sipping or cooking grains like rice, risotto, or polenta. For more collagen and a true Jello-set broth, add chicken feet — they're loaded with gelatin and make a real difference in the texture of the chilled broth.
Beef bone broth is bolder and more full-bodied, with a depth that makes it the go-to for French onion soup, beef stew, braised short ribs, ramen, or pho. For the richest result, go with knuckle bones and oxtail.
Why Not Both?
Mixing chicken and beef bones in the same batch gives you a rich, well-balanced all-purpose broth. It’s also a great way to use up whatever bones you have on hand. The flavor lands right in the middle—deeper than chicken, but not as heavy as beef.
Chicken Bone Broth vs. Chicken Broth — What's the Difference?
This is a common question—and it matters because these two liquids serve different purposes in the kitchen.
| Chicken Broth | Chicken Bone Broth | |
| Made from | Meat, vegetables, sometimes bones | Primarily bones & connective tissue, sometimes vegetables |
| Cook time | 1–2 hours stovetop / 30 min IP | 2–4 hours stovetop / 2–3 hours Instant Pot |
| Collagen content | Low to minimal | High — especially with feet & joints |
| Texture | Thin, liquid at all temperatures | Can gel when chilled (higher collagen) |
| Flavor | Mild, light, clean | Richer, deeper, more complex |
| Nutritional focus | General cooking liquid | Collagen, gelatin, amino acids, minerals |
| Best used for | Light soups, quick weeknight cooking | Sipping, gut health, nourishing recipes |
So What's the Real Difference?
Regular chicken broth—especially the store-bought kind—is mostly made for flavor. It’s lighter and quicker to make, and it works great for everyday cooking. Bone broth, on the other hand, is all about getting more out of the bones. Because it cooks longer, it pulls out those extra bone broth benefits like collagen, gelatin, and minerals that you just don’t get much of in a typical broth.
Can I Use Them Interchangeably?
Yes—you can use chicken bone broth anywhere you’d normally use regular chicken broth, and it’ll likely make your dish taste even better becasue of its rich flavor. But if a recipe calls for bone broth specifically, regular broth won’t offer the same richness or nutrients.
Does Store-Bought Bone Broth Count?
Many store-bought bone broths are made quickly, so they don’t extract as much collagen and nutrients. Homemade bone broth gives you more control, so you can cook it long enough to get the best flavor and benefits.
Serving Suggestions
Here are some of the best uses for your homemade bone broth:
- Sip it warm: Season with salt, a squeeze of lemon, and a pinch of turmeric or ginger. A deeply comforting daily ritual.
- Soups & stews: Use this broth for chicken soup, it's the perfect base for beef stew, french onion soup, pasta fagioli soup, and so much more.
- Ramen & pho: It's great for homemade ramen or pho. Season with soy sauce, mirin, fresh ginger, and sesame oil for a deeply satisfying bowl.
- Risotto & grains: Substitute for water when cooking risotto, polenta, quinoa, or rice for remarkable depth of flavor.
- Braising liquid: Braise short ribs, pot roast, osso buco, or chicken thighs for a naturally rich, silky result.
- Pan sauces or Gravies: Deglaze a hot pan after searing meat or vegetables for a quick, deeply flavored sauce. Or use as a base when making homemade gravy.
- Freezer cubes, glass jars or freezer storage bags: Freeze in ice cube trays for small portions or use glass jars and freezer bags for larger batches.
How to Store, Reheat & Freeze Bone Broth
Refrigerator Storage
Cool completely before transferring to airtight glass jars or BPA-free containers. Refrigerate for up to 5 days. The solidified fat layer on the surface acts as a natural seal — leave it on until you're ready to use.
Freezer Storage
Freezes beautifully for up to 6 months. Choose your format:
- Ice cube trays — ideal for small amounts like deglazing or enriching sauces.
- 1-cup or 2-cup mason jars — perfect for soups and individual sipping mugs (leave 1 inch of headspace). Note: Always leave at least 1 inch of headspace in glass jars before freezing — broth expands and will crack a fully filled jar.
- Quart-size zip-lock freezer bags — laid flat to maximize freezer space.
- Silicone muffin trays — yields perfectly portioned pucks of approximately ⅓ cup each.
Note: Always leave at least 1 inch of headspace in glass jars before freezing — broth expands and will crack a fully filled jar.
How to Reheat
From the refrigerator: Warm in a saucepan over medium-low heat for 3–5 minutes.
From frozen: Thaw overnight in the refrigerator or in warm water for 20–30 minutes, then reheat in a saucepan over medium-low heat for 3–5 minutes. Frozen cubes can go directly into soups or sauces.

Frequently Asked Questions
How long should I cook bone broth in the Instant Pot?
Two hours (120 minutes) at HIGH PRESSURE is the recommended starting point and produces a deeply flavorful, nourishing everyday broth. For a richer, more collagen-dense result, extend to 3 hours (180 minutes).
Can you overcook bone broth in an Instant Pot?
Not really, but cooking longer than 3 hours can slightly dull the flavor. For best results, stick to 2–3 hours.
What bones are best for Instant Pot bone broth?
For chicken, start with carcasses and add chicken feet for extra collagen. For beef, use a mix of knuckle bones (collagen), marrow bones (richness), and oxtail or short ribs (depth of flavor). A mix of bone types always outperforms a single type for both flavor and nutrition.
Should you roast bones before making bone broth?
Roasting bones adds deeper flavor, especially for beef broth, but it's optional. Roast at 400°F for 30 minutes before pressure cooking for the richest, darkest result.
Why add apple cider vinegar to bone broth?
The mild acidity helps draw minerals — calcium, magnesium, and phosphorus — and collagen out of the bones during cooking. You won't taste it in the finished broth, but it meaningfully improves the nutritional yield. White wine vinegar or a squeeze of lemon juice works as a substitute.
Why didn't my bone broth gel?
A non-gelling broth is still delicious and nourishing — most store-bought bone broths don't gel either. For a firmer result next time, use more collagen-rich bones (knuckles, joints, or chicken feet), reduce the water slightly, or extend the cook time to 3 hours at high pressure.
How long does bone broth last in the fridge or freezer?
In the refrigerator, homemade bone broth keeps for up to 5 days in an airtight container. In the freezer, it lasts up to 6 months. Use ice cube trays for small portions, mason jars for individual servings, or freezer bags laid flat. Always leave 1 inch of headspace in glass jars — broth expands as it freezes.
Can you reuse bones for a second batch of broth?
Yes — this is called "remouillage." After your first 2–3 hour pressure cook, return the bones to the pot with fresh aromatics and water and pressure cook for another 2 hours. The second batch is milder but still flavorful and great for cooking grains, light soups, or risotto.
Can you drink bone broth every day, and how much should you drink?
A typical daily serving is 1 cup (8 ounces), though some people drink up to 2 cups. Start with 1 cup and see how your body responds; for gut-health protocols, some practitioners recommend 1–2 cups daily for several weeks. Check with your healthcare provider if you're on a sodium-restricted diet.
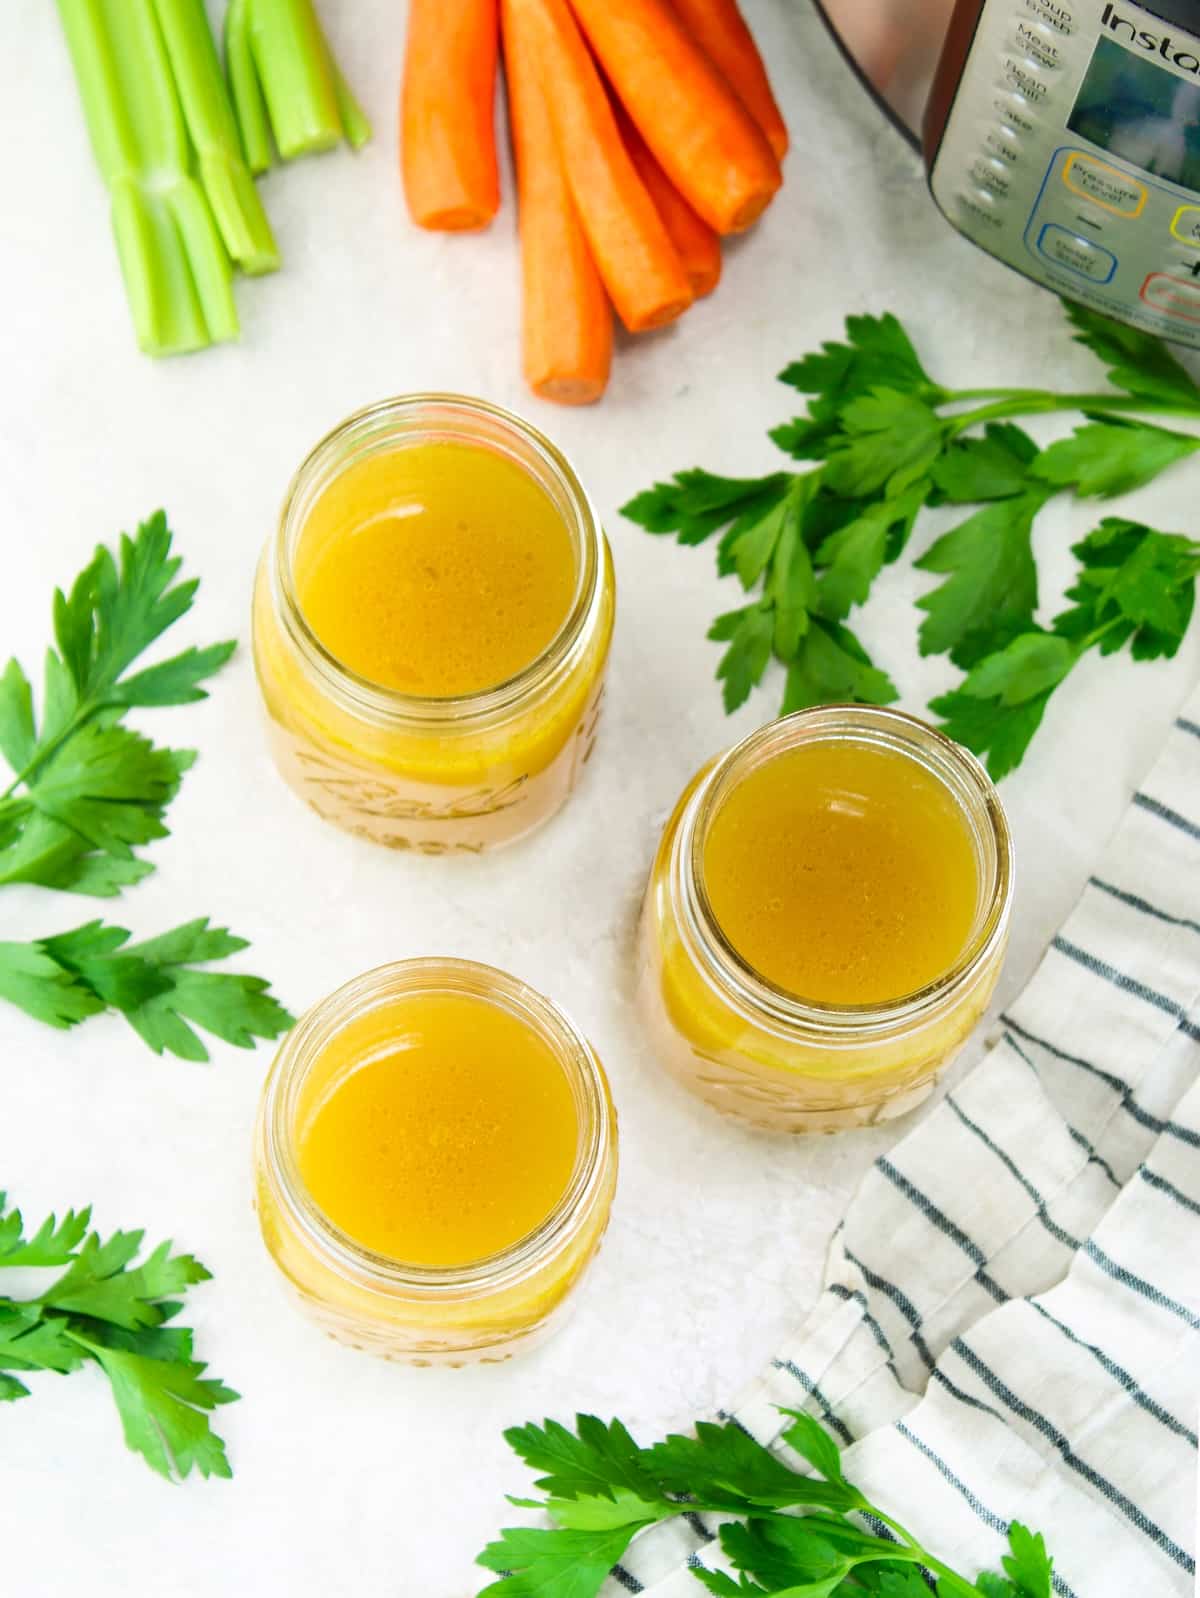
Why is my bone broth cloudy?
Cloudy broth usually comes from quick-releasing the pressure, boiling too aggressively, or not skimming the foam during cooking. It's still completely safe and nourishing — just not as visually clear. For a clearer result, use natural pressure release and strain through cheesecloth.
Is bone broth good for weight loss?
Bone broth is low in calories (typically 30–50 per cup) and high in protein, which can help with satiety. Sipping a warm cup before a meal may reduce overall calorie intake, and the protein supports muscle maintenance during weight loss. It isn't a magic weight-loss food, but it fits well into most healthy eating plans.
Whether you go with the 2-hour everyday method or push to the 3-hour gelatinous version, making bone broth at home is one of the most rewarding things you can do in your kitchen. Real ingredients, real flavor, and the quiet satisfaction of knowing exactly what went into every cup.
Add your bones, toss in your aromatics, set the timer, and let the Instant Pot do the rest. Make it once a week or once a month — either way, you'll always have something on hand that makes every meal taste just a little more special.
Tried this recipe? Leave a star rating and a comment below — I read every one, and your feedback helps other home cooks feel inspired to give it a try. Tag me on Instagram or Pinterest so I can see your beautiful homemade broth!
Instant Pot Bone Broth Recipe
This Instant Pot bone broth recipe makes rich, gelatin-rich homemade bone broth in 2–3 hours using real chicken or beef bones, fresh aromatics, simple pantry vegetables, and a splash of apple cider vinegar for a deep, savory flavor. Pressure cooking pulls collagen and nutrients out of the bones quickly, delivering a nourishing broth in a fraction of the time it takes on the stovetop. Once you make it at home, it's hard to go back to store-bought.
Ingredients
- 3–4 lbs. of chicken carcasses, backs, or feet. Or 3–4 lbs. beef bones (knuckles, marrow bones, oxtail, short ribs) or a mix of both.
- 3 medium carrots, peeled and roughly chopped — adds natural sweetness and a warm golden color. ( I peel my carrots becasuse they taste sweeter, and cleaner, while unpeeled carrots have a more rustic, earthy, and sometimes slightly bitter flavor.)
- 3 celery stalks, roughly chopped — gives savory depth and a mild herbal note.
- 1 large onion, roughly chopped (I remove the peel and root because they can have dirt stuck to them).
- 4 cloves garlic, smashed and peeled — adds rich, savory depth without overpowering.
- 1–2 bay leaves — gives a subtle, earthy, herbaceous flavor.
- 1 tsp fine sea salt (optional)
- 1 tsp whole black peppercorns — adds gentle heat and rich, complex flavor.
- Handful of fresh parsley with stems, roughly chopped — brightens the overall flavor. You can swap parsley for thyme, sage, or rosemary.
- 1 tablespoon apple cider vinegar
- 10–12 cups cold filtered water
Instructions
- Add the roughly chopped carrots, celery, onion, smashed garlic, bay leaves, peppercorns, salt (if using), parsley stems, and bones in the Instant Pot.
- Pour in cold filtered water and the apple cider vinegar until you reach the Max Fill line (approximately 10–12 cups). Never exceed the Max Fill line.
- Seal the Instant Pot, select Manual / Pressure Cook on HIGH PRESSURE for 120 minutes (2 hours for chicken bones; 3 hours for beef bones). The Instant Pot will take 20–25 minutes to come to pressure before the timer begins.
- When cooking is complete, allow a natural pressure release for 20 minutes before switching the valve to venting. A slow release produces a clearer, more refined broth and gives the proteins time to settle.
- Remove the lid carefully. Using tongs, remove the large bones. Place a fine-mesh strainer over a large bowl or pot. Pour or ladle the broth through the strainer and discard all solids. (For extra clear broth, line the strainer with cheesecloth.) See Note.
- Let the broth cool to room temperature, then refrigerate. Once chilled, the fat will rise and solidify on the surface for easy removal — or leave it in for added richness. Now your broth is ready to use, refrigerate, or freeze.
Notes
You can press the vegetables while in the strainer to add more of their natural juices to the bone broth. It won't be as clear and filtered but it will have even more flavor and nutrients.
Nutrition Information
Yield
10Serving Size
1Amount Per Serving Calories 13Total Fat 0gSaturated Fat 0gUnsaturated Fat 0gSodium 240mgCarbohydrates 3gFiber 1gSugar 1gProtein 0g
This nutrition card uses an estimate provided by an online nutrition calculator. This estimate is not a substitute for a professional nutritionist’s advice!
Leave a Reply